Get the scoop from strategic media pros at Disney, YouTube and more just in time for upfront season at Convergent TV, March 21–22. Learn more.
TikTok allows users to set their accounts to “Private” in order to prevent strangers from following them or watching their videos. When a user has a private TikTok account, non-followers won’t be able to view their videos, and the user will be able to approve or deny anyone who requests to follow their account.
Our guide will show you how to make your account private in the TikTok mobile application.
Note: These screenshots were captured in the TikTok app on iOS.
Step 1: On your TikTok profile, tap the three horizontal lines in the top-right corner of the screen.
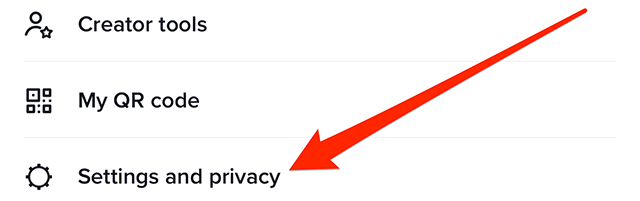
Step 2: Tap “Settings and privacy.”
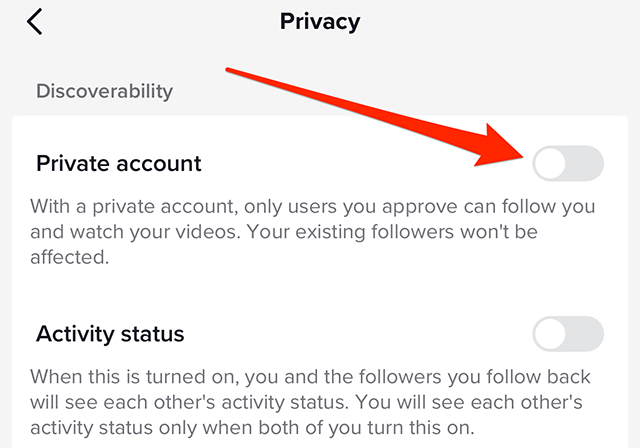
Step 3: Tap “Privacy.”
Step 4: Tap the toggle to the right of “Private account” to make your account private.
This guide was first published in March 2019 and was updated in March 2023.
Learn how to harness the rising influence of the creator economy with marketing insights from brands including McDonald’s, Bombas and Duolingo at Social Media Week, May 16–18. Register now to save 30%.
The Snapchat camera offers a “Tone” tool that is designed to “improve your Snaps by fixing exposure issues.”
Our guide will show you how to use the Tone tool when creating Snaps in the Snapchat mobile application.
Note: These screenshots were captured in the Snapchat app on iOS.
Step 1: On Snapchat’s camera screen, tap the plus sign icon on the right side of the screen.
Step 2: Scroll down and tap “Tone.”
Step 3: Tap the icon of two sliders on the right side of the screen.
Step 4: Use the slider to adjust the Tone feature to your desired level.
Step 5: Tap on the camera screen outside of the “Tone” adjustment window to close the window.
Learn how to harness the rising influence of the creator economy with marketing insights from brands including McDonald’s, Bombas and Duolingo at Social Media Week, May 16–18. Register now to save 30%.
Just in time for March Madness, Instagram released a “Basketball” chat theme that adds a basketball court to a conversation’s background.
Our guide will show you how to use the Basketball chat theme in the Instagram mobile application.
Note: These screenshots were captured in the Instagram app on iOS.
Step 1: Open the Instagram conversation you want to customize and tap the conversation name at the top of the screen.
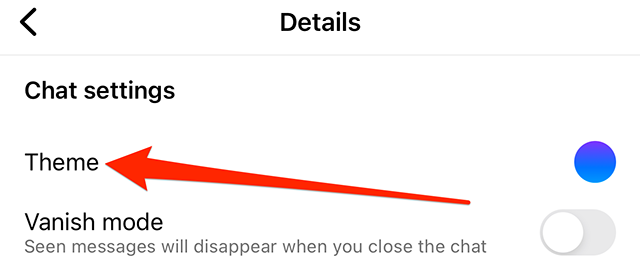
Step 2: Tap “Theme.”
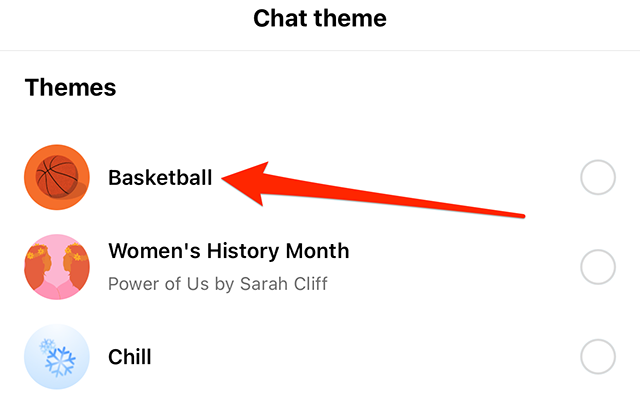
Step 3: Tap the “Basketball” chat theme. Note: There is no preview screen or confirmation window. Once you tap the Basketball chat theme, the conversation will be updated.
Learn how to harness the rising influence of the creator economy with marketing insights from brands including McDonald’s, Bombas and Duolingo at Social Media Week, May 16–18. Register now to save 30%.
Messenger released a “Basketball” chat theme that adds a basketball court to a conversation’s background. When this theme is activated, the conversation’s “Quick reaction” emoji will automatically change to the basketball player emoji.
Our guide will show you how to use the Basketball chat theme in the Messenger application.
Note: These screenshots were captured in the Messenger app on iOS.
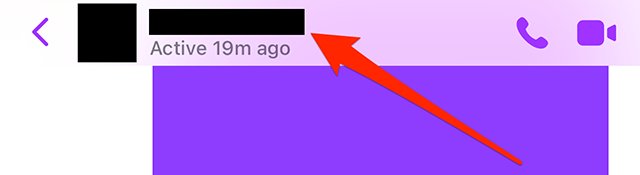
Step 1: Open the Messenger conversation you want to customize and tap the conversation name at the top of the screen.
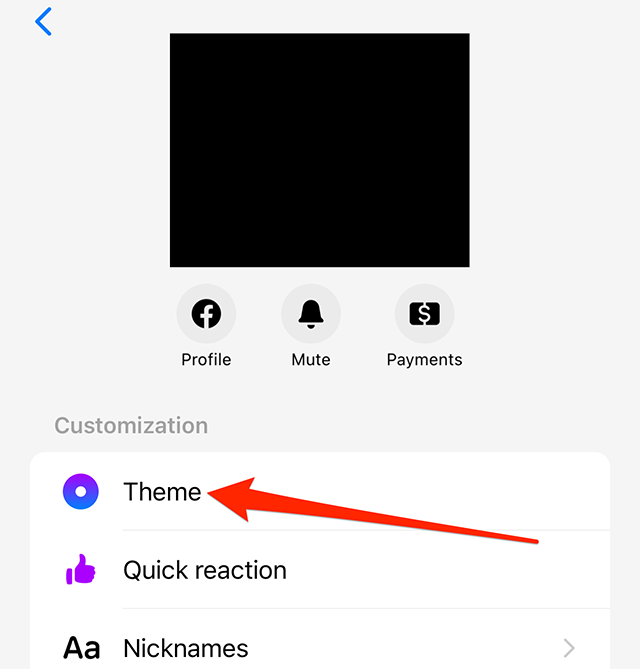
Step 2: Tap “Theme.”
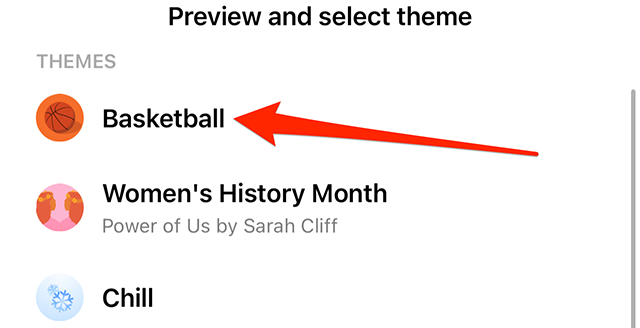
Step 3: Tap the “Basketball” chat theme.
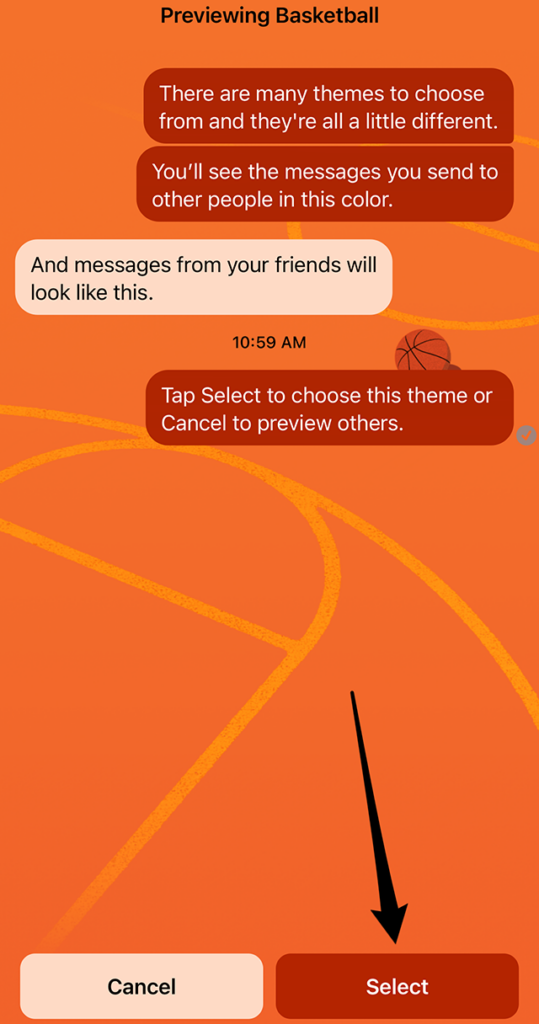
Step 4: Tap the “Select” button in the bottom-right corner of the screen.
Learn how to harness the rising influence of the creator economy with marketing insights from brands including McDonald’s, Bombas and Duolingo at Social Media Week, May 16–18. Register now to save 30%.
Snapchat’s “Multi Snap” feature allows users to quickly capture multiple photo and/or video Snaps and then edit them individually before sharing them.
Our guide will show you how to use the Multi Snap feature in the Snapchat mobile application.
Note: These screenshots were captured in the Snapchat app on iOS.
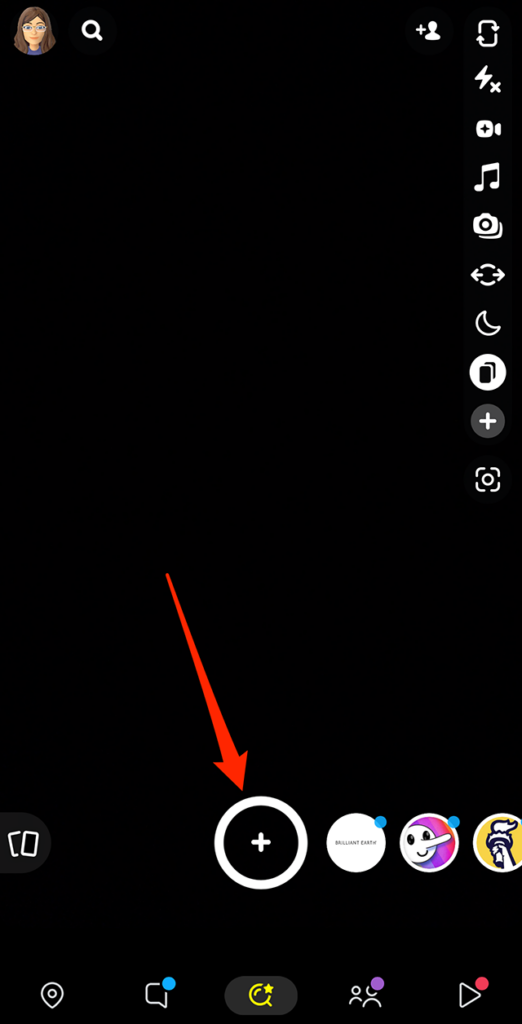
Step 1: On Snapchat’s camera screen, tap the plus sign icon on the right side of the screen.
Step 2: Scroll down and tap “Multi Snap.”
Step 3: Now, you can tap and/or tap-and-hold the capture button multiple times to capture multiple photo or video Snaps, one right after the other.
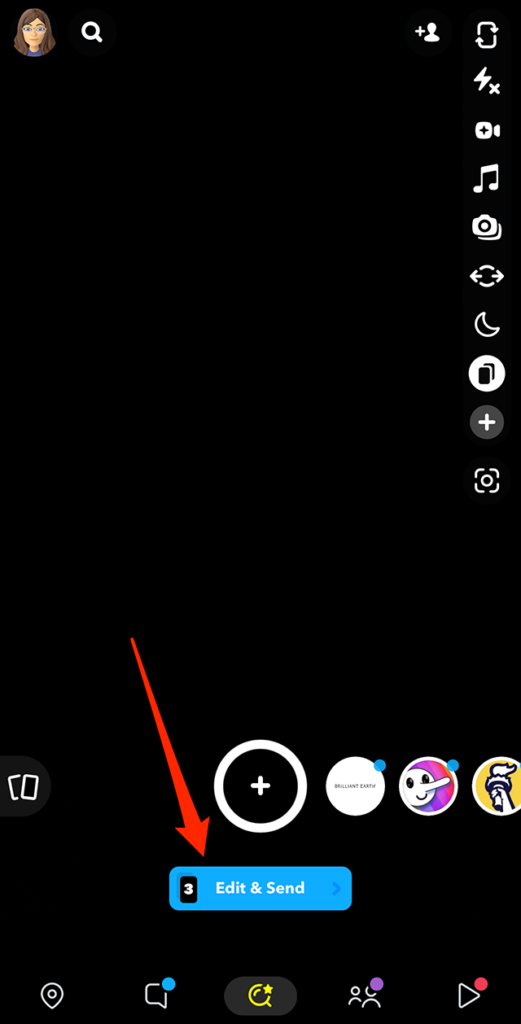
Step 4: Once you’re done capturing Snaps, tap the “Edit & Send” button under the capture button.
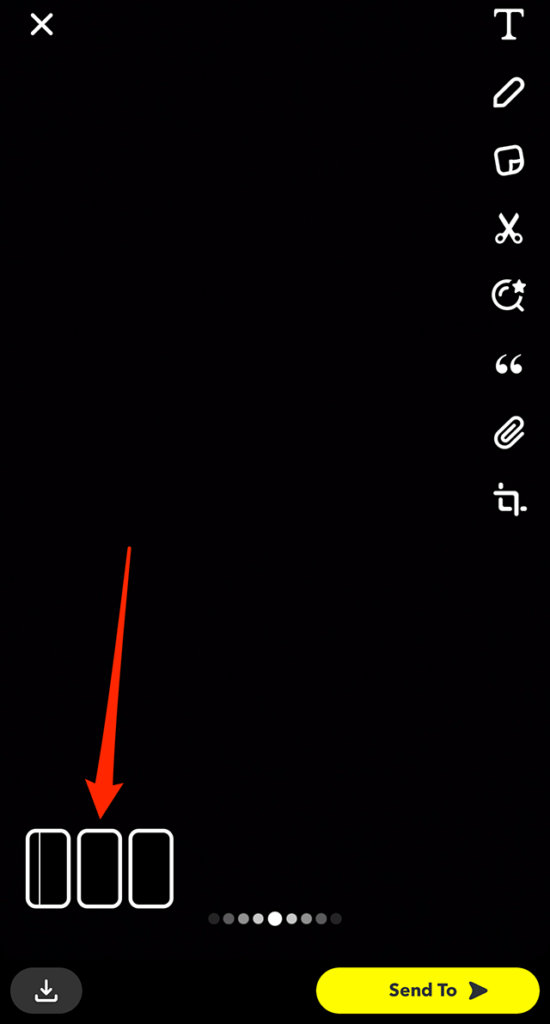
Step 5: From there, you can tap the different Snaps you’ve captured near the bottom-left corner of the screen to edit them individually before sharing them.
Learn how to harness the rising influence of the creator economy with marketing insights from brands including McDonald’s, Bombas and Duolingo at Social Media Week, May 16–18. Register now to save 30%.
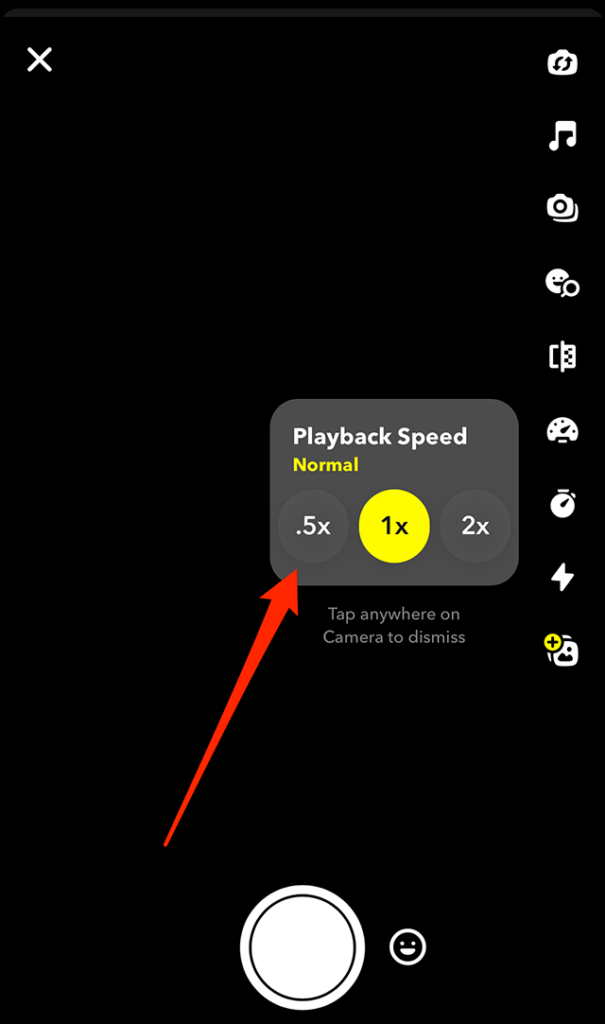
Snapchat’s “Director Mode” gives creators access to a variety of tools they can use when creating Snaps. One of these tools allows users to change the playback speed of their video clips. With this tool, users can cause clips to play slower or faster than they normally would.
Our guide will show you how to change a clip’s playback speed in the Snapchat mobile application.
Note: These screenshots were captured in the Snapchat app on iOS.
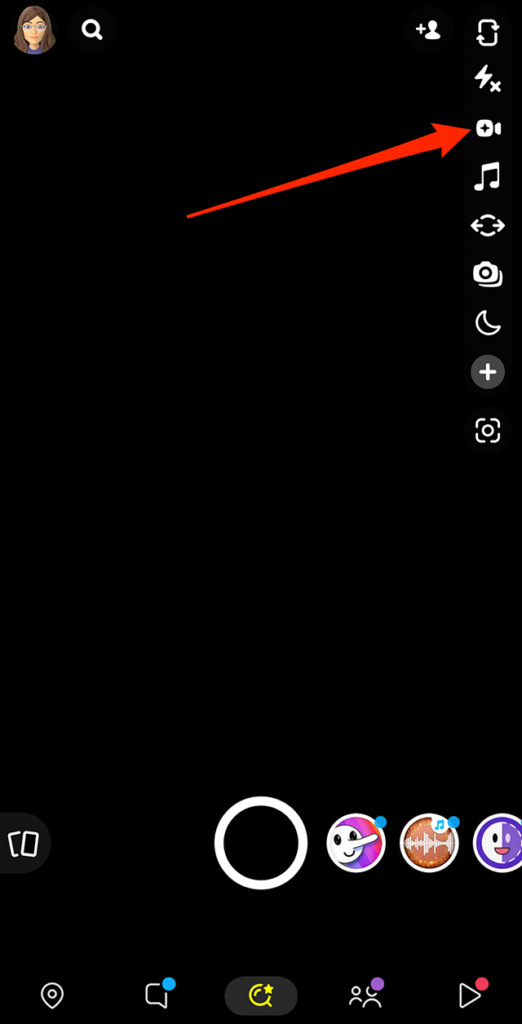
Step 1: On Snapchat’s camera screen, tap the video camera icon on the right side of the screen to turn on “Director Mode.”
Step 2: Tap the speedometer icon on the right side of the screen.
Step 3: Tap “.5x” if you want your clip to play in slow motion, or tap “2x” if you want your clip to play back at twice the normal speed.
Now, you can tap the capture button near the bottom of the screen to record a clip as you normally would. When you view the clip, it will play slower or faster than normal, depending on your selection.
Learn how to harness the rising influence of the creator economy with marketing insights from brands including McDonald’s, Bombas and Duolingo at Social Media Week, May 16–18. Register now to save 30%.
Snapchat offers a “video stability” feature that is designed to “reduce shakiness” in a user’s videos. Users can turn this feature on before recording videos in the Snapchat mobile application.
Our guide will show you how to turn on video stability in the Snapchat mobile app.
Note: These screenshots were captured in the Snapchat app on iOS.
Step 1: On Snapchat’s camera screen, tap the plus sign icon on the right side of the screen.
Step 2: Scroll down and tap “Video Stability.” After that, you can close this menu and record a video as you normally would.
Learn how to harness the rising influence of the creator economy with marketing insights from brands including McDonald’s, Bombas and Duolingo at Social Media Week, May 16–18. Register now to save 30%.
The Snapchat mobile application allows users to turn on an “ultra wide” feature before creating Snaps. This will allow them to create wide angle Snaps using their device’s rear camera.
Our guide will show you two different ways you can activate the ultra wide feature on the camera in the Snapchat mobile application.
Note: These screenshots were captured in the Snapchat app on iOS.
Method 1: Tap the “Ultra Wide” icon on the right side of the Snapchat camera screen.
Get the scoop from strategic media pros at Disney, YouTube and more just in time for upfront season at Convergent TV, March 21–22. Learn more.
Instagram keeps track of the content each user searches for in their personal search history. Users have the option to delete their search history at any time.
Our guide will show you how to delete your search history while using the Instagram mobile application.
Note: These screenshots were captured in the Instagram app on iOS.
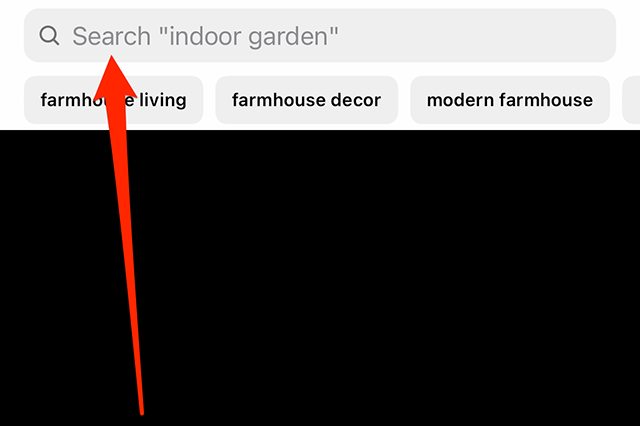
Step 1: On Instagram’s “Explore” screen, tap the search bar at the top of the screen.
Step 2: Tap “See all” under the word “Cancel” on the right side of the screen.
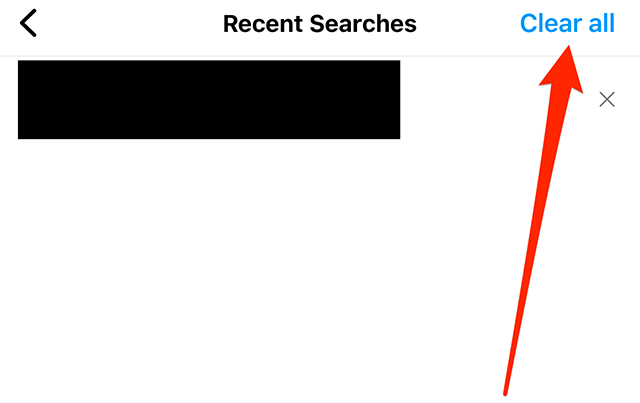
Step 3: Tap “Clear all” in the top-right corner of the screen.
Step 4: Tap the “Clear all” button on the confirmation window that appears on the screen.
This guide was first published in July 2017 and was updated in March 2023.
Hear from the Big Ten Conference CIO on how they create a unified data strategy to amp up fan engagement and drive sales. Register for this webinar, sponsored by Snowflake, on March 14.
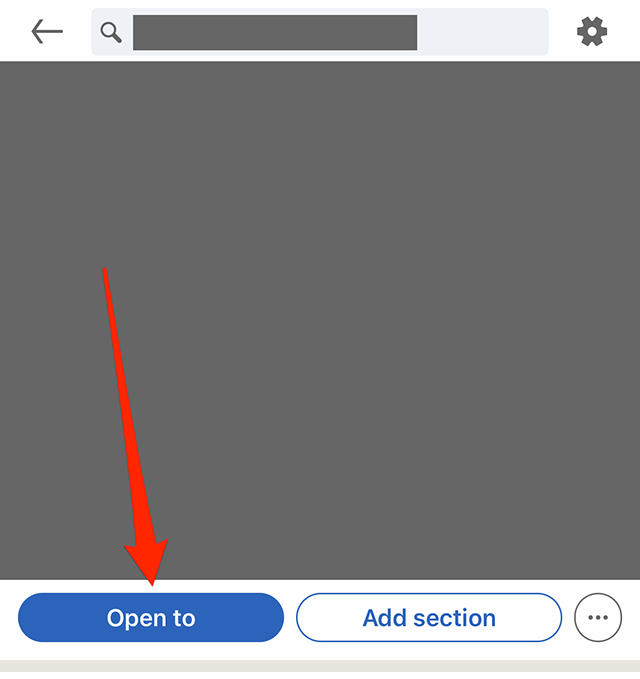
LinkedIn’s Open to Work feature allows users to tell other LinkedIn members and/or recruiters that they’re interested in new work opportunities. Users can decide whether this information is shared with everyone on LinkedIn or only recruiters. If a user decides to share this information with everyone on LinkedIn, an “Open to Work” banner will be added to their profile picture.
Our guide will show you how to turn on the “Open to Work” feature on your LinkedIn profile.
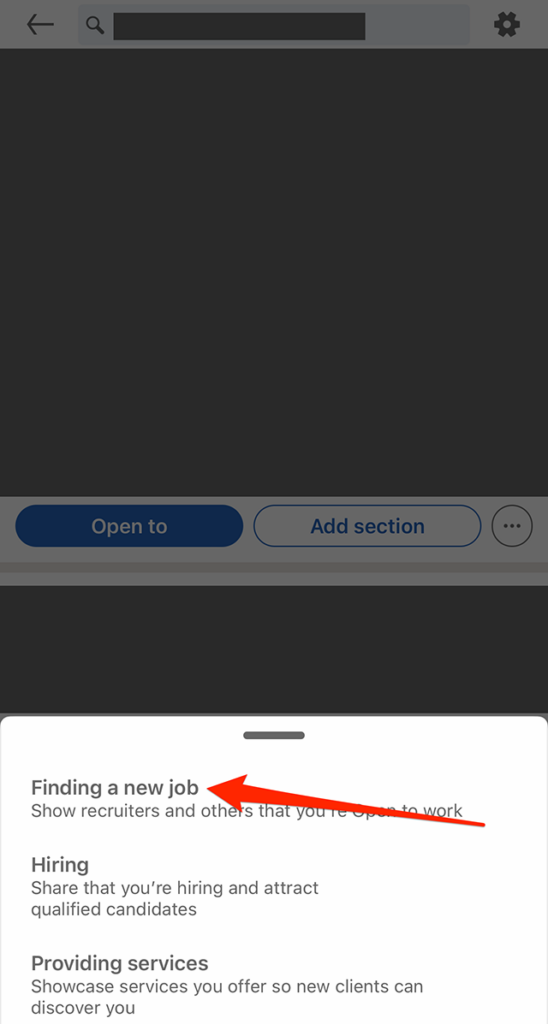
Step 1: On you LinkedIn profile, tap the “Open to” button to the left of the “Add section” button.
Step 2: Tap “Finding a new job” on the window that appears at the bottom of the screen.
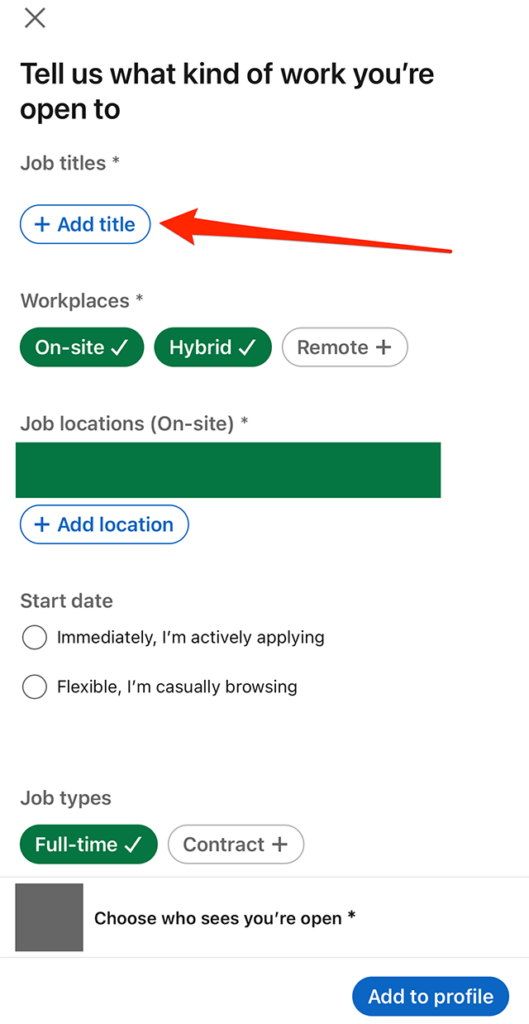
Step 3: Fill out the form with the job title(s), job location(s) and other details you’d like to share.
Step 4: Once you’re done filling out your desired information, tap “Choose who sees you’re open” near the bottom of the…