


Ideas and Exercises to Expand Your Thoughts on Your Photography
LEVEL: Beginner, Intermediate, Enthusiast.
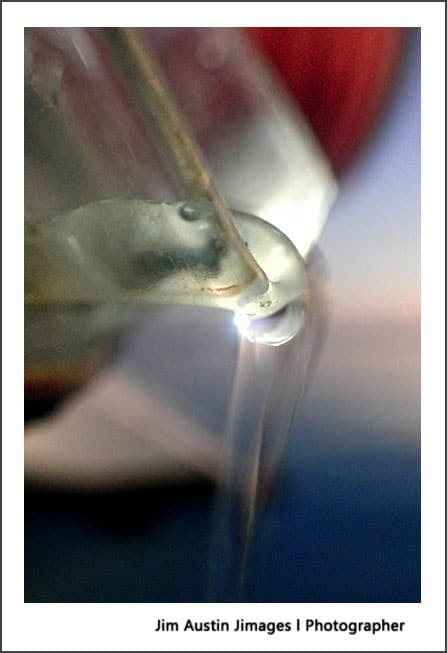
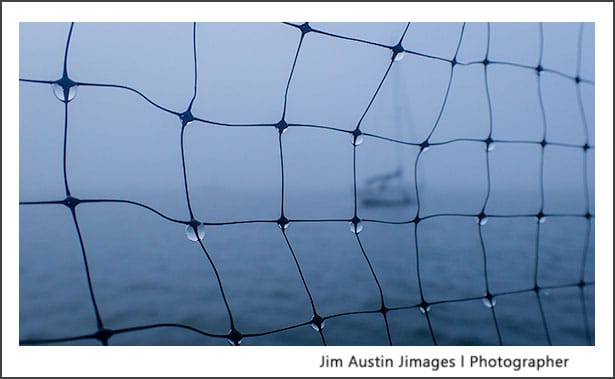
THEME: Water is a coherent theme for the five images above.
#1 – Single Color
Choose a single color. Practice photographing that color, and its complimentary hues, for at least four outings. I chose the color blue. It is a dominant color, and I spent part of the time in the Bahamas, where a billion shades of blue emerge from sky and water.
For this exercise, it’s OK to include contrasting hues that harmonize with your main color. The colors red and yellow are complimentary to blue and provide a balance.
The joy of this color exercise is thinking outside our color boundaries. How we label changes how we see. For example, in some cultures, light blue and dark blue are two different colors and given completely different names.
Our color concepts limit how we perceive our visual experience. Paying attention to just one color, and those hues that harmonize with it boosts our appreciation of how we see hues. This takes, time; the longer we look, the more textures we can find within a single color.
Avoid the “Max Slider” approach; overly-saturated color can become the visual equivalent of screaming. Too much saturation detracts from the form, space, and line that are part of a good composition. Initially, try to avoid photographing “off-balance” colors. Colors that are in balance, together, resonate with each other like two tuning forks.
#2 – Commit & Go
Decide, the night before a shoot, that the next mornings’ sunrise will be unique and beautiful. With a positive, energized attitude, dress for the conditions outdoors. Go out to photograph no matter what the weather is like, being mindful of the light and weather that is present, not the conditions you expected.
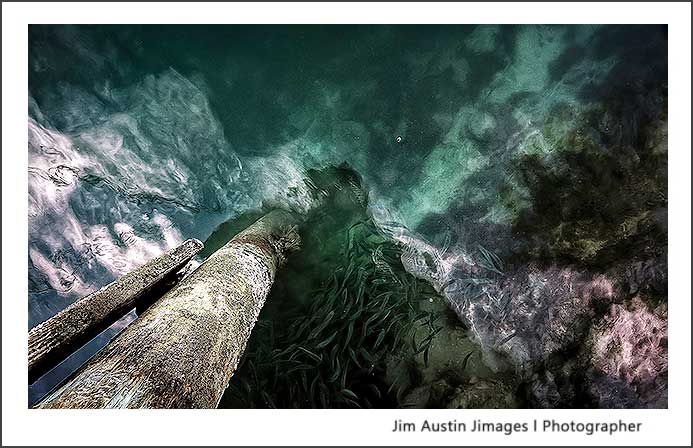
#3 – Change Position
Look up, down and inside things. Shift your perspective to get lower, higher or closer. Ask yourself: “how would a 3-year-old see that dog, or how could an eagle view that cliff, or how might would a butterfly see that river?” The reason to vary your camera height and position is simple. By overcoming a habit of making shots from a standing position at eye level, we can see a greater variety of compositions.
Next, go even deeper. Change the process of how you make images. Do you habitually check your LCD screen? Turn it off. If you often take 5-10 shots of a single thing, take only one frame of each subject.
Give your workflow a little nudge. Do you place a high value on photographs that are sharp from corner to corner? Then experiment with softness and blur. If you tend to spend just a few minutes with a subject, invest more time and spend 30 minutes or longer looking, gazing and absorbing just a single subject matter.
The reason behind all these methods of shifting our position, and taking time, is to expand our awareness of how we compose. This means investing time finding new vantage points and angles in search of compelling pictures. This is often more valuable than any piece of gear.
#4 – Simplify Your Gear
I like to make solo trips with only one camera body and one lens. This keeps me from overshooting, lets me concentrate on light, timing, and composition. For landscape and still subjects, instead of zooming or auto-focusing, I set the camera settings to Manual mode. Wielding a prime lens minimizes the time spent on focusing and exposure, which places my attention on the subject and not on the screen or gear.
#5 – Sustain Your Inspiration
Get a printed book by a photographer you enjoy. After you read it, create a series of photographs inspired by one main idea in the book that has inspired you.
When I ordered a copy of William Neill: Photographer‒ A Retrospective direct from the photographer himself, Neill’s eloquent writing in a chapter called By Nature’s Design made an impact on me. He wrote:
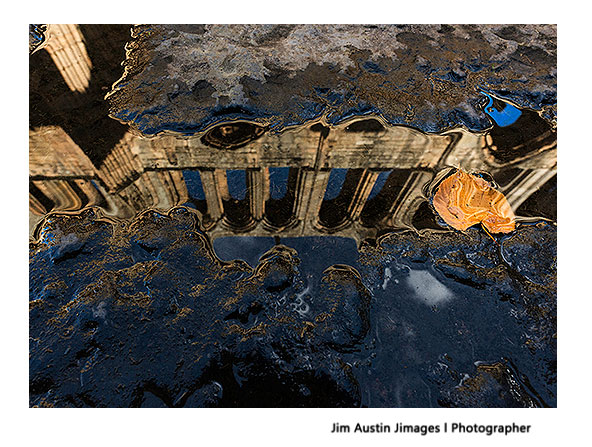
“My By Nature’s Design photographs invite the viewer to discover and appreciate natural patterns: the sensuous ripples of glistening wet mud in a desert stream; the repeated tracings of veins in fallen leaves; the intricate cracking of tree bark; or the crystalline forms seen in ice. Underlying the many modifications and patterns that occur in nature is a hidden unity.”
I was inspired and motivated by Neill’s photographs and writing on nature’s patterns to complete a longstanding series I’d done on water and its patterns. By observing the work of master photographers, we learn and can take on new energy for our own work. As photographer Robert Adams said:
“Your own photography is never enough. Every photographer who has lasted has depended on other people’s pictures too‒photographs that may be public or private, serious or funny, but that carry with them a reminder of community.”
Bonus Tip: Curate
We work on the media to improve its appearance, sound, or presentation. Curating, we trim down the number of our pictures to express a coherent theme with a limited number of images.
When I curate my work, choosing only the best, I try to select just ten pictures. Then, because printing images is vital to make them into haptic objects I can touch, I print these ten at smaller sizes. I print at 4″ x 6″, or 5″ x 7″ size and hang them on a wall that I pass by daily.
As time passes, half of these pictures drop out because they become less interesting. I add a few more in the gaps in the sequence. Finally, the best ones that I seem to keep looking at seem to resonate.
These, I make into larger prints for projects. In a productive year, if there are 5-10 coherent and well-printed images, I celebrate with a sense of accomplishment.
https://www.apogeephoto.com/five-ideas-from-field-to-final-print/
