


Today we will learn how to create lens flares vectors on a transparent background with the help of simple vector objects, blending modes and Flare Tool. Have fun with our new Illustrator tutorial!
Tutorial Details: Realistic Lens Flare Vectors
- Program: Adobe Illustrator CS4 – CC
- Difficulty: Beginner-Intermediate
- Topics Covered: Gradient Tool and the Transparency panel
- Estimated Completion Time: 45 minutes
Final Image: Realistic Lens Flare Vectors

Step 1
To begin our lens flare vectors post, we’ll create a new document (File> New …). Set the size of our artboard – 600x600px. Click on the Advanced button and set the RGB color mode, if of course, it is not installed by default.

Step 2
Proceed to the creation of a semi-transparent background. It’s quite a popular design element today. Create a light gray square using the Rectangle Tool (M). The dimensions of the rectangle should correspond to the size.
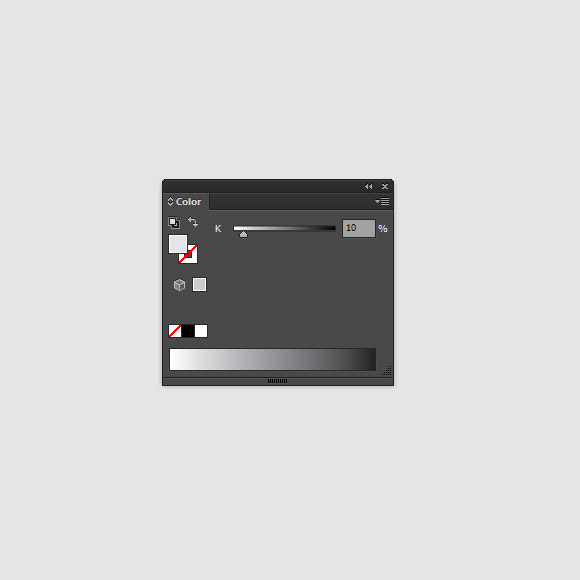
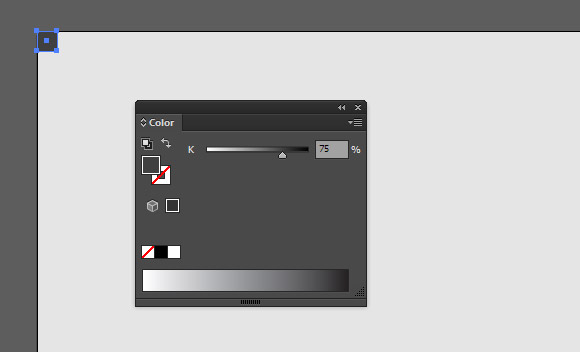
Now in the top left corner of the artboard let’s create a dark gray square with dimensions 20x20px.
Step 3
Select a dark gray square, then go Effect > Distort & Transform > Transform… and set the Horizontal Move value = 40px and 14 Copies in the dialog box.

Apply the Transform effect once again and set the value and select the options shown in the figure below.
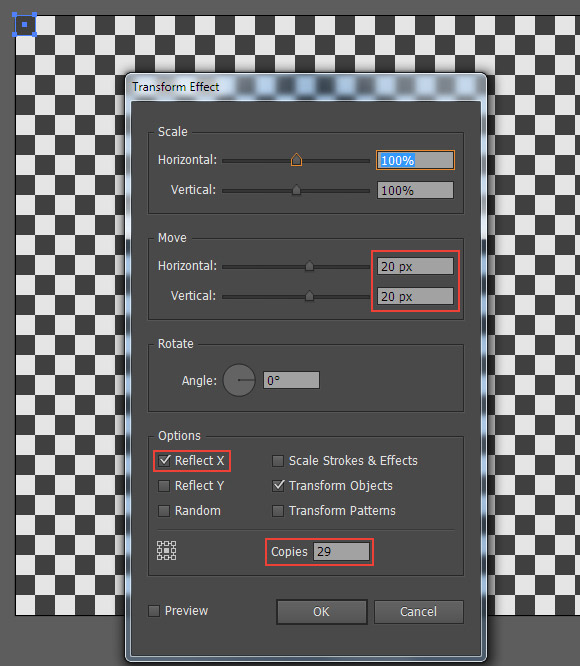
Through these actions now our background looks like a chess board.
Step 4
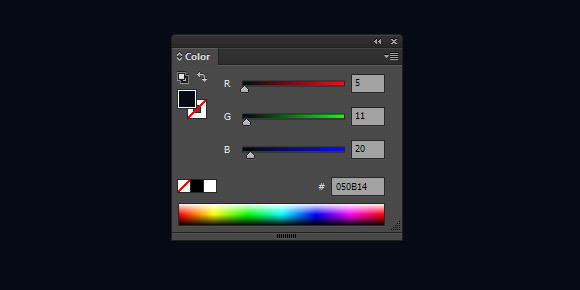
Create a new square with the size of our artboard and fill it with a dark blue color, for example R = 5; G = 11; B = 20.
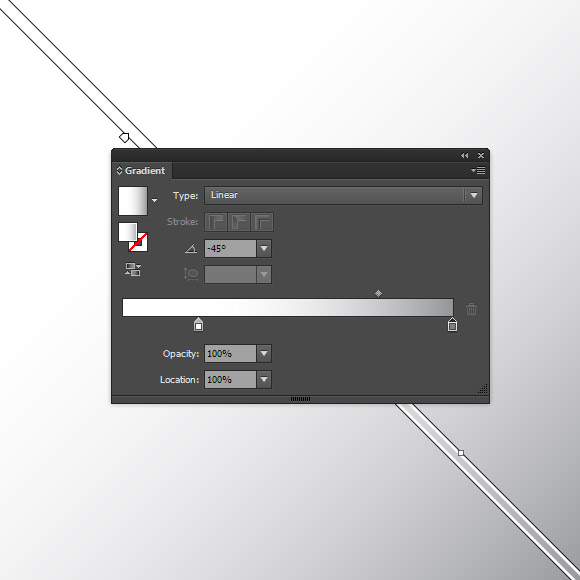
Duplicate this square (Cmd / Ctrl + C; Cmd / Ctrl + F). Apply to this object a linear gradient from gray (K = 50) to white.
Step 5
Select the two upper squares, and then click on the Make Mask button in the Transparency panel to create an opacity mask.
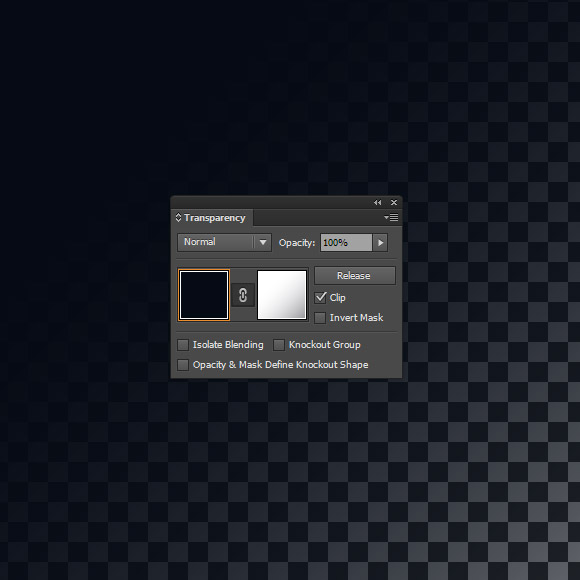
Semi-transparent background is ready. We can begin to create our lens flare vectors.
Step 6
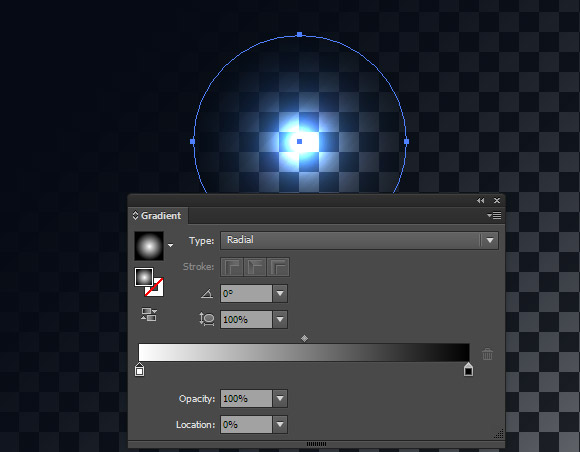
With the help of the Ellipse Tool (L) create a circle in the center of the artboard. Fill the circumference with a radial gradient from gray (K = 30) to black (R = 0; G = 0; B = 0).
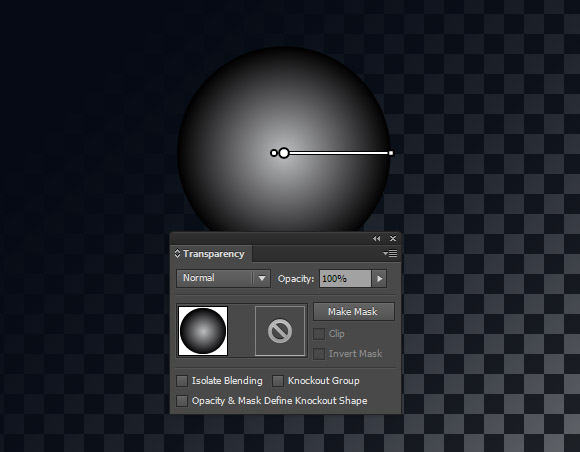
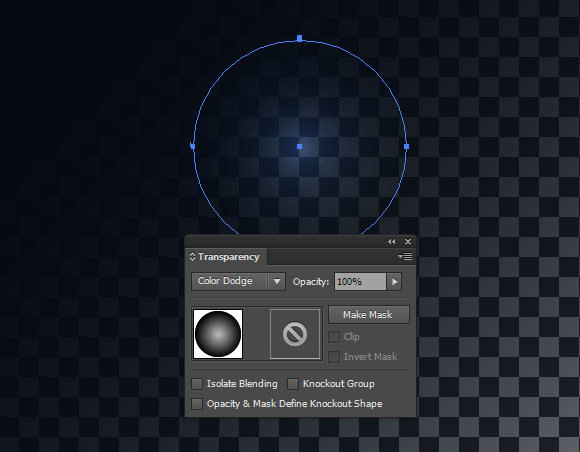
Apply to this object Color Dodge blending mode in the Transparency panel.
Step 7
Duplicate the circle (Cmd / Ctrl + C; Cmd / Ctrl + F). Fill the top of the circle with a radial gradient from white to black.
With the help of the Selection Tool (V) transform the upper circle to an ellipse and rotate it to any angle.
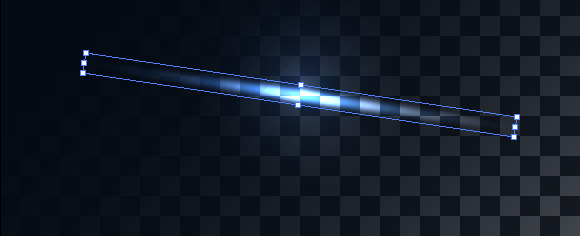
Step 8
Duplicate the last ellipse couple of times, and turn the copies into other angles. You can also resize and reduce the opacity of some ellipses. As the result, we receive a star similar to the one shown below.


Step 9
Create a circle with a radial gradient fill from gray (K = 50) to black (R = 0; G = 0; B = 0) and place it in the center of the star.
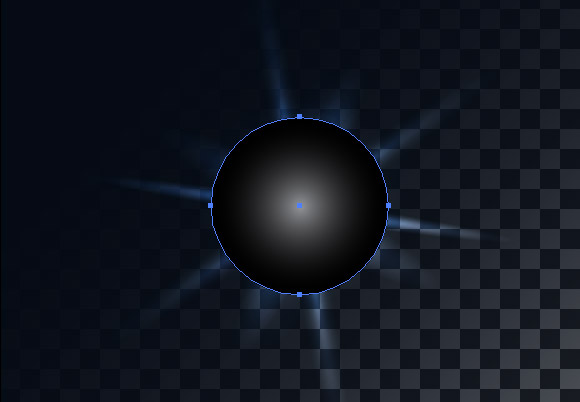
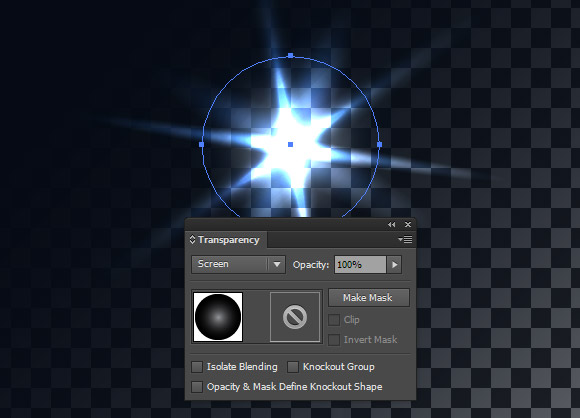
Apply to the circle Screen blending mode in the Transparency panel.
Step 10
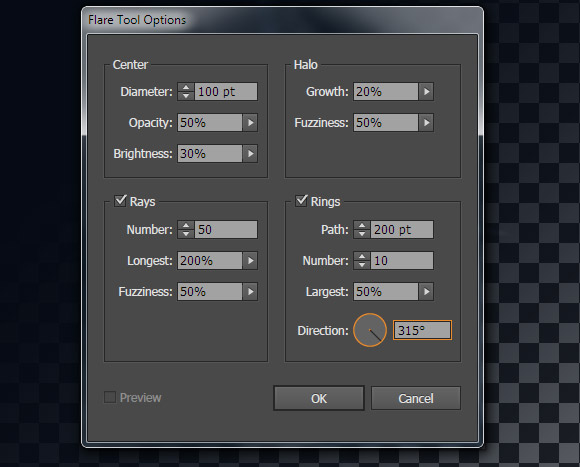
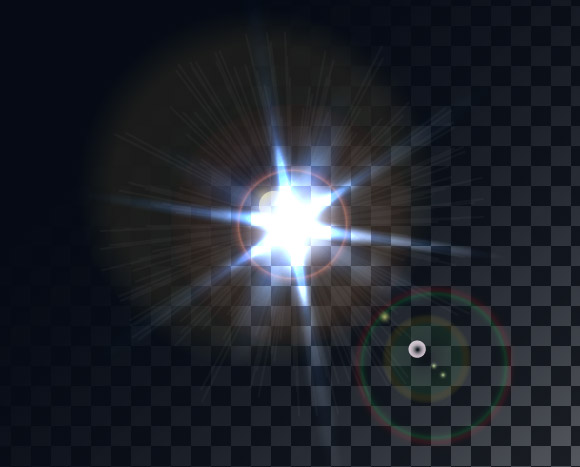
Take the Flare Tool and click in the center of the top of the circle. In the dialog box, set the parameters similar to the ones shown on the figure below.
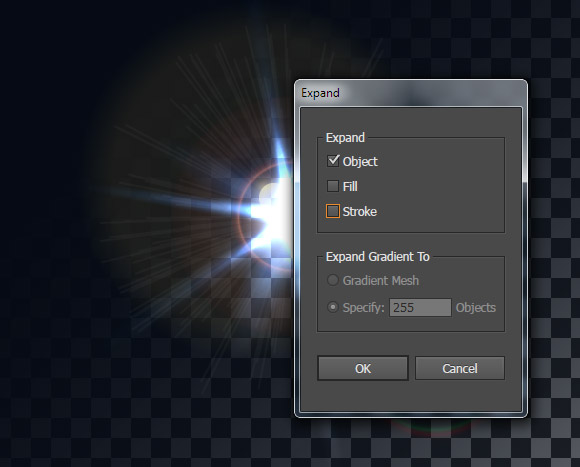
I do not think that all objects of flare are needed. Select the Flare object, then go to Object> Expand… and choose only the Object option in the dialog box.
Step 11
Now we can remove some of the circles, leaving the necessary ones.
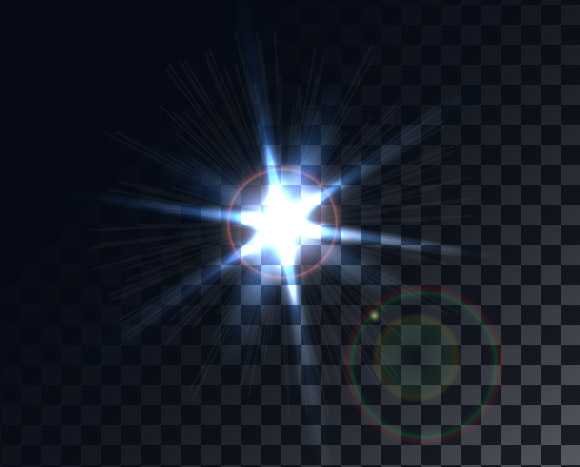
And edit the color of gradients of any of the circles, which were previously included in Flare object.
I desaturated all gradients to flares light so they can be used on any color background. I hope everyone finds this lens flare vectors tutorial useful! Good luck creating!

Author: Iaroslav Lazunov
My name is Iaroslav Lazunov, I am a graphic designer from Ukraine. I am glad that I finally found the job in my life that I can share my knowledge and experiments with you in my tutorials. Follow me on Twitter or visit my blog Vectorboom.com.
