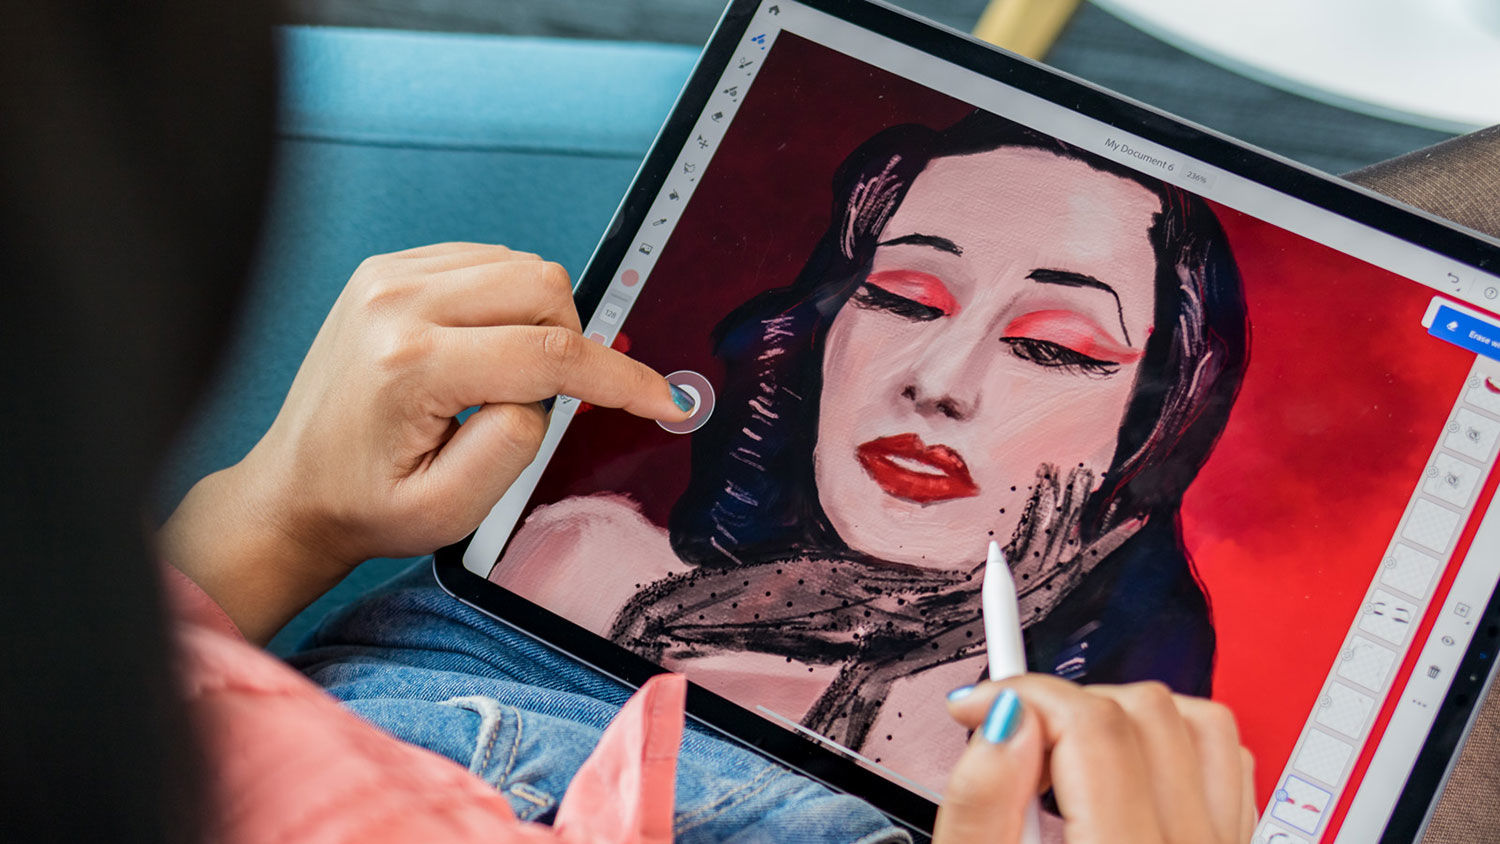
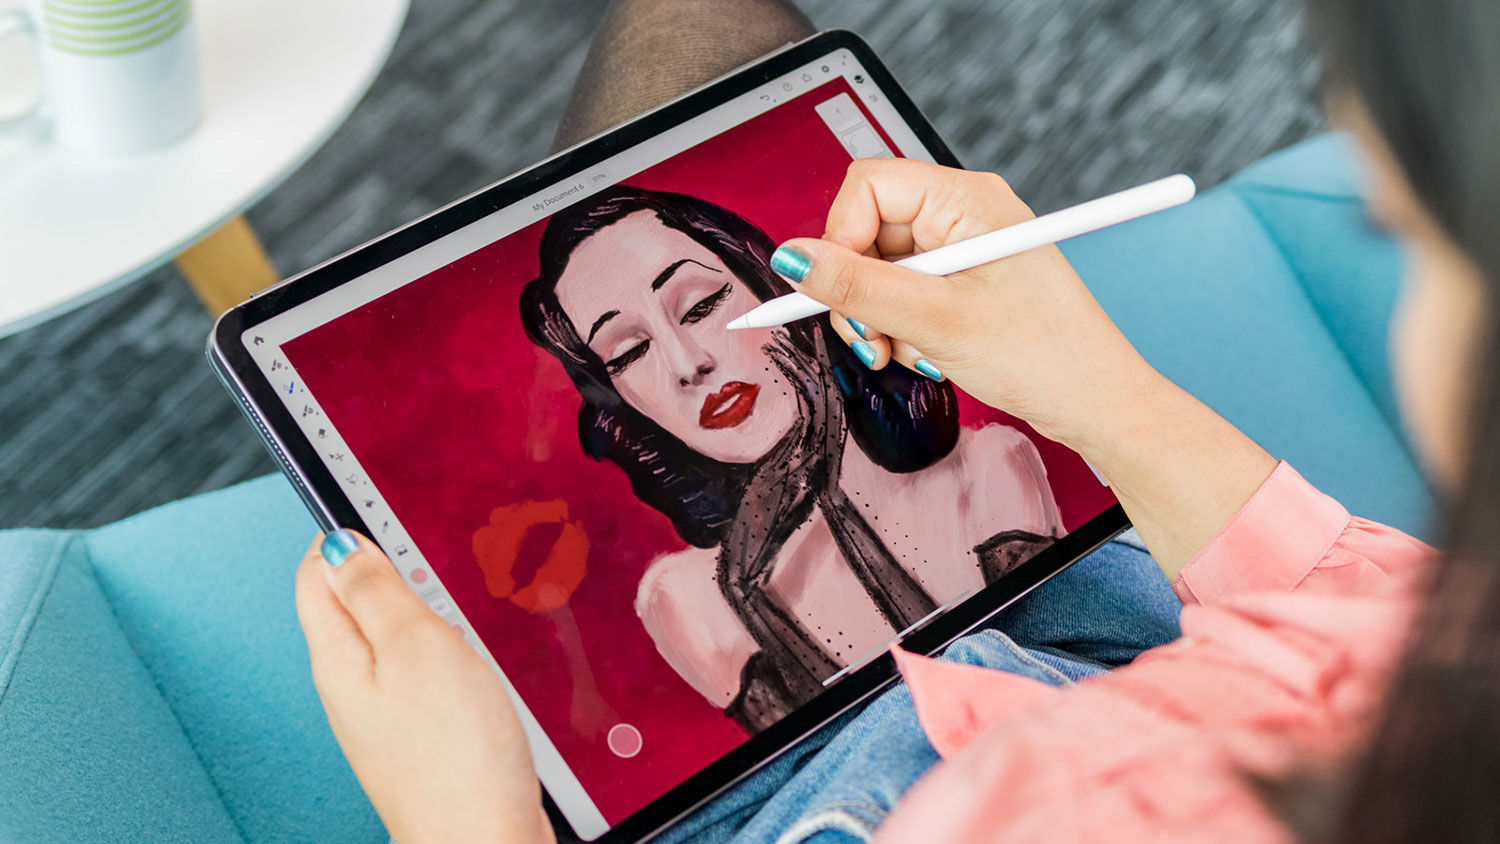
Find out here what Adobe Fresco feels to use on the iPad, as artist Hazel Mead takes you through her experiences drawing and painting on an exclusive pre-release version of the app –including how it measures up against the industry standard, Procreate.
As a digital artist who originally trained as an oil painter I was intrigued by Adobe’s new Fresco app from the outset. I’ve long been lamenting the loss of working with traditional materials but the fast turnarounds and a necessity for ease of editing pieces for clients – as well as practicalities of lugging around a toolbox of paints – has meant that a Photoshop/Wacom tablet combo is my most convenient working method. I can’t be waiting all week for the paint to dry, after all.
Adobe Fresco may be the program to bridge the gap, though, and I was delighted to grab the pre-release for a hands-on review in the video below, which sees me creating a brand new piece with the latest iPad Pro and Apple Pencil.
Adobe Fresco video review: watch its watercolours bleed below
What is Adobe Fresco?
Adobe has been working on a new solution specifically designed with illustrators and digital painters in mind. Whereas Photoshop or Illustrator is currently the digital artist’s Adobe tool of choice for drawing, Fresco is being marketed as a program which sits in between the two, providing the option to work in both vector and/or raster alongside new drawing features, something not previously offered by Adobe software.
It’s also being aimed at the iPad user market, with this first version of Fresco only available as an app for the Apple tablet. While Adobe is currently working on a Photoshop app for the iPad, that will naturally be more focused on photo editing and compositing, making Fresco Adobe’s first attempt at a Procreate rival.
A beta version has been doing the rounds for a good while now, with invited illustrators like Jing Wei regularly sharing their creations on the likes of Instagram back when the app used to be known as Project Gemini. Digital Arts also got a hands-on with the beta at last year’s Adobe MAX convention, but for this feature I’m specifically reviewing a pre-release identical to what’ll be hitting online stores during autumn 2019.
Adobe Fresco review: like a Photoshop-Lite

The first thing that leapt out about Adobe Fresco was how intuitive the user interface was. I am not particularly techy, neither do I want to spend too much time learning a new piece of software.
Whereas Photoshop is a gargantuan beast which has taken me countless hours to learn (with many more functions left to uncover, I’m sure), Fresco is a much smaller and friendlier app. Its UI has been clearly modelled on Photoshop; as I use Photoshop daily the transition was smooth, and I was able to get to grips with Fresco in five minutes. As such I would be completely confident handing it to a complete novice at digital drawing, another of Adobe’s target markets with this new software.
Fresco as an iPad app
For this review I used the iPad Pro 2018, finding Fresco to be well-suited to the iPad. The brushes lend themselves to being applied with a stylus straight onto the screen rather than an external drawing tablet and screen. It’s also therapeutic to use your finger to draw and emulate the feeling of pushing paint around (especially with the oils).
The preset shortcuts of tapping with two fingers to undo, three fingers to redo, and double tap on the pencil to zoom in and out are all pleasing and easy to master quickly. There is of course the option to change the pencil shortcuts, and anything that isn’t immediately evident is available to learn in the simple-to-use tutorials.
Brushes with greatness

Once I had the app up and running I headed straight to the brushes and I have to say, these are the most impressive features of Fresco.
There are three categories of brush: pixel, vector and live. The live brushes are among the most advanced painting tools I’ve had the opportunity to play with. Here Adobe have both focused on oil paints and watercolours and teamed up with the almighty Kyle T. Webster – whose brushes I already lovingly use – to create a ton of new options for the digital artist.
The great thing about painting with real watercolours is the unexpected bleeding: you can control the amount of water and paint you use and then the exciting part is seeing what happens when the wet brush interacts with the damp paper. Astoundingly, Adobe Fresco has managed to replicate this effect and to be honest, it left me in awe. The watercolour brush technology is something to rave about and show your friends, but it’s not a gimmick that will grow old; it’s a well-thought-out functional tool that’s been missing from the digital painter’s toolbox for far too long.
There is also a useful feature to dry the layer so just like with real paints you can let that layer dry and work over the top; you also have the option to leave it ‘wet’ for as long as possible. With the ability to control the amount of water, paint and whether the layers bleed together or not, Fresco keeps the artist in true control.
Catch these tools in action in my video review (scroll back up to watch or visit the Digital Arts Youtube page).
How Fresco brushes compare with other software

I discovered that the brush option bar shares plenty of similarities with Procreate, including the size, flow, blending mode, a range of shape dynamics, a range of scattering options, pressure, jitter and many more. It also has the useful preview box which allows artists to test what each option does to the brush before committing.
Your brushes meanwhile can be marked as favourites for ease of re-finding brushes used previously. Also all colours used in an image are stored in a palette, another small touch that saves you masses of time.
There is a noticeable difference with the way Fresco’s oil brushes work compared to other software I’ve tried. For example in Procreate I enjoy the brushes and the effects you can achieve purely because they’re not 100% realistic. Paint can be dragged quite easily in the app and a white shade can overpower darker tones, digital-only possibilities which have their benefits.
With Fresco though the digital oils works much more like real-life paints in in that it’s more difficult for a lighter colour to overpower a darker one. This attention to visual fidelity means you can build up depth with the brush strokes; as such the paint takes on a more three-dimensional look as if blooming outwards from the page.
A small yet effective feature that has proven massively helpful is the Touch Shortcut button. When drawing with pixel brushes, use of this button by holding it down makes the brush switch to an eraser that takes on the properties of the brush itself.
This is particularly useful as it doesn’t interrupt the ‘flow’ of a painting by introducing different qualities (something which can be quite frustrating when drawing in Photoshop).
Vector and raster
Another intuitive aspect of Fresco is the way in which vector and raster can be used in the same image. When using a vector brush, Fresco creates a new layer and that layer can be infinitely scaled. A pixel/live brush will pixelate if the layer is stretched. Fresco’s versatility in providing the option to work with both vector and raster could have an appealing advantage to artists that often need to vectorise their images, especially those using the completely raster-based Procreate.
Making brushes with Adobe Capture
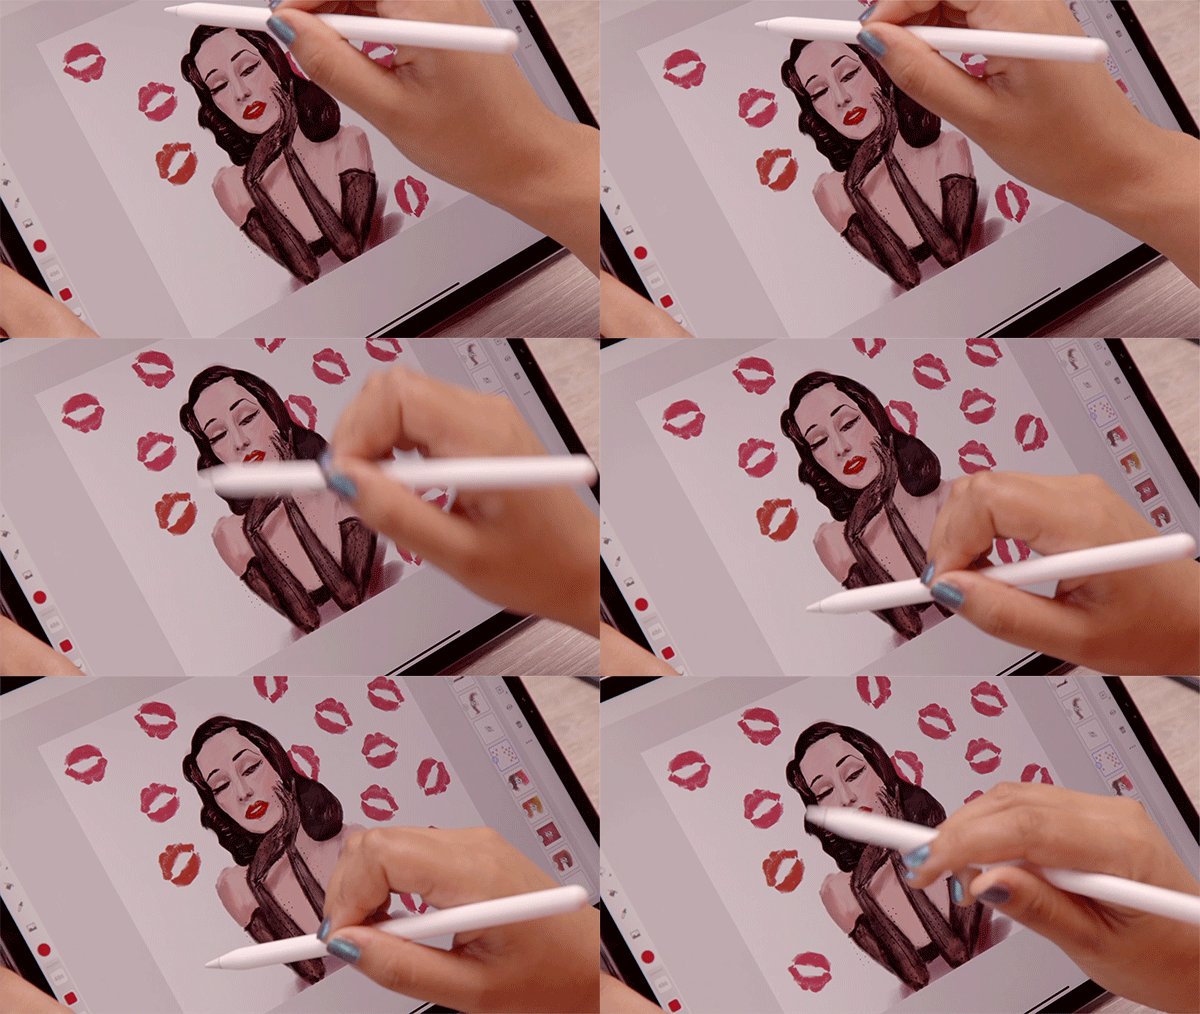
I have also been dabbling with the mobile and tablet-exclusive Adobe Capture. The free app is compatible with Fresco and allows you to create custom brushes from photographs and images, which can then be imported to your brush library. It’s a lot of fun, and for my piece I used it to capture lipstick marks made from kisses I gave to my oh-so-gorgeous sketchbook.

Timelapse
I had a nice surprise when exporting my illustration to discover that Fresco includes the option to output the drawing process as an MP4 timelapse, another sign that Adobe is paying attention to what artists are missing from the current Adobe stable.
Rather than setting up a screen recording which requires you to stay in the program, Fresco’s integrated timelapse feature allows you to export a timelapse at any point, even if you’ve exited Fresco and returned. With Instagram constantly putting more focus on video and IGTV, the timelapse feature is a timely add-on for social-minded illustrators.
Artist’s verdict on Adobe Fresco

Because of Fresco’s small, friendly and easy to use nature it does have less features than something like Photoshop. Its drawing capabilities are top marks but its editing capabilities are not as fully fledged as those with Adobe’s flagship brand.
Transforming, resizing, masking, opacity options are available but options to adjust colour, saturation and hue of individual layers are not currently possible with Fresco. That is the one thing I am missing from Fresco, something which Procreate does allow for. However, it is important to bear in mind that this is the first version of the software and overall I am very impressed. I could see Fresco being a way to reconnect with my painting background and introduce it to my digital practice. Fresco would be suitable for digital painters (naturally), novices to digital painting, traditional painters that are after a more convenient transportable option while retaining somewhat of the feel of painting and even children and the older generation – it’s that simple to use.
The brushes alone are that good I am considering forking out for an iPad just so I can use Adobe Fresco – I am a fan.
Keep an eye on Digital Arts for more information of Adobe Fresco’s release date and purchasing options, and find more art by Hazel in this profile feature of the artist.

Read next: Adobe Project Aero art from Dan Mumford and Supermundane
https://www.digitalartsonline.co.uk/reviews/creative-software/adobe-fresco-review-we-draw-paint-with-pre-release-of-new-procreate-rival/

