

A lot of new tools have been introduced with Adobe Photoshop CC 2018, which was announced at Adobe Max in October alongside all updated and new Creative Cloud 2018 apps.
You can now draw vector shapes and masks easier and faster with the new Curvature Pen tool, and an all-new brush preset panel allows for easier sorting through brush styles and enhanced presets – including all of Kyle T. Webster’s brush designs which are now available in Photoshop for the first time. Adobe has also just announced an artificial intelligence powered Select Subject tool which makes it easier to select a person or animal from an image.
Our list of best Photoshop tutorials from 2017 – covering illustration, photography, design and 3D type – begins with photographer Tigz Rice’s guide on using some of the new Photoshop CC 2018 tools, including Luminance and Color Range Masking and how to use Photoshop Actions, Conditional Actions and Droplets.
Tigz also explores how well the iPhone 7 Plus Portrait Mode works and how you can prepare for a photoshoot on location – these aren’t quite Photoshop tutorials but you may still find them interesting.
For more, take a look at our extensive collection of 86 Photoshop tutorials covering art, design and photography.
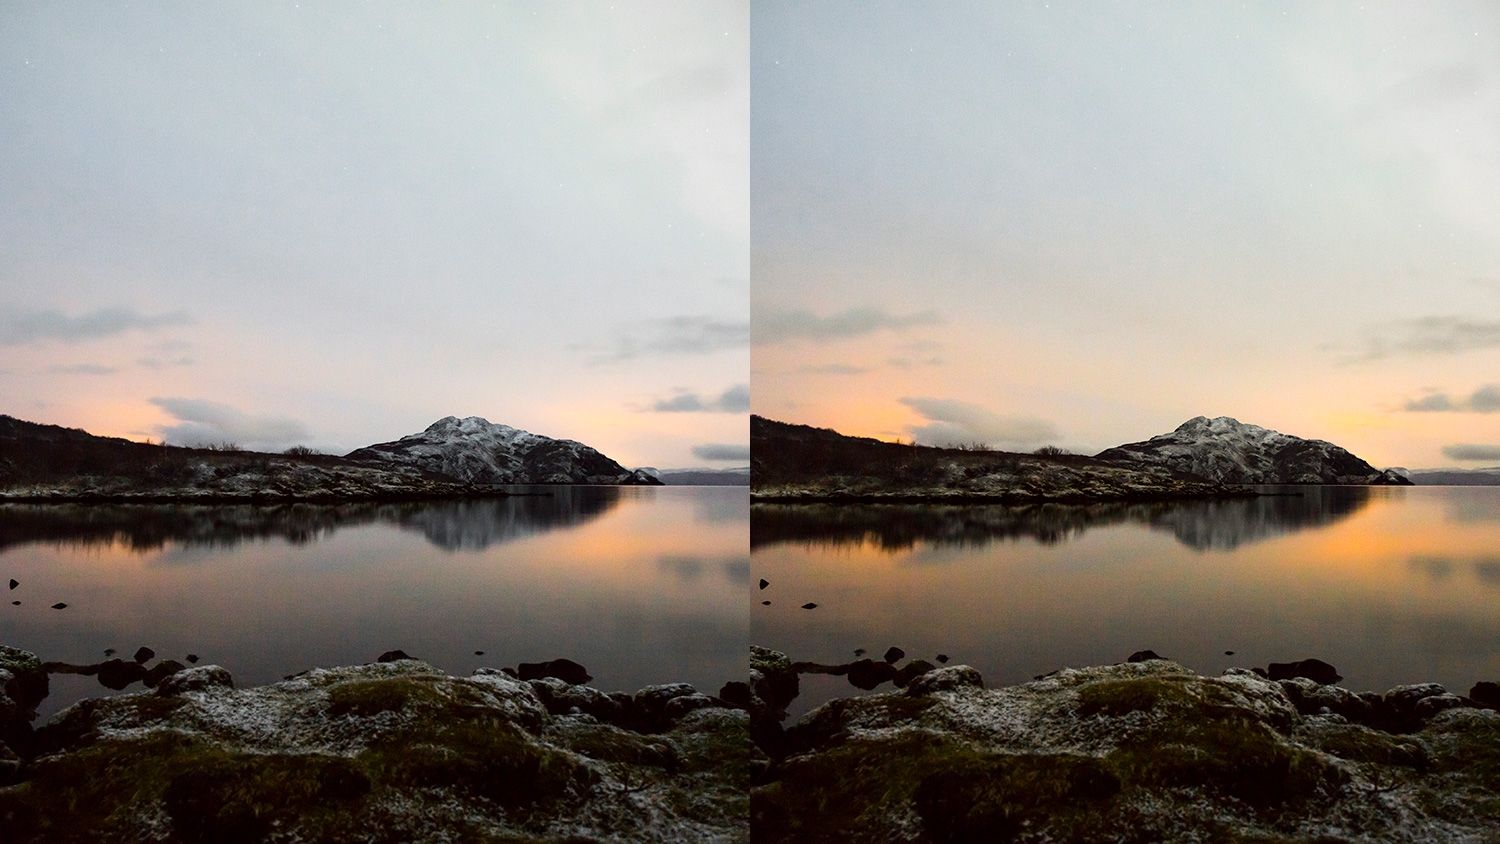
How to Use Luminance Range Masking
Luminance Range Masking in a brand new feature is the latest release of both Adobe Photoshop and Lightroom – aka Photoshop CC 2018 and Lightroom CC Classic. It allows you to control the masking of gradients and adjustment brush work based on the tonal range of your image.
If you spend a lot of time brushing over masks to fine-tune them, Tigz Rice shows how you can shave minutes off your retouching by using this new feature.
How to use Color Range Masking
Color Range Masking is another brand new feature in the latest releases of both Photoshop and Lightroom, allowing you to control the masking of gradients and adjustment brush work based on the colour range of your image.
Whether you’re working with photos, artwork or graphics – learn how to use this new features to control the colours in your images in Photoshop CC 2018 with photographer Tigz Rice.
How to use Photoshop Actions, Conditional Actions and Droplets

Actions let you apply sets of commands and effects to images in one go. You record them once, then apply them with a single click or keyboard shortcut.
You can take Actions to the next level by letting them work intelligently based on the images they’re applied to – using a feature called Conditional Actions. And you can apply them from outside Photoshop using Droplets.
Conditional Actions let you apply Actions to many images at once, working in different ways based on each image’s size, shape or other criteria.
Conditional Actions are a great way of automating your digital workflow by allowing Photoshop to do some of the manual sorting for you.
How to thicken hair
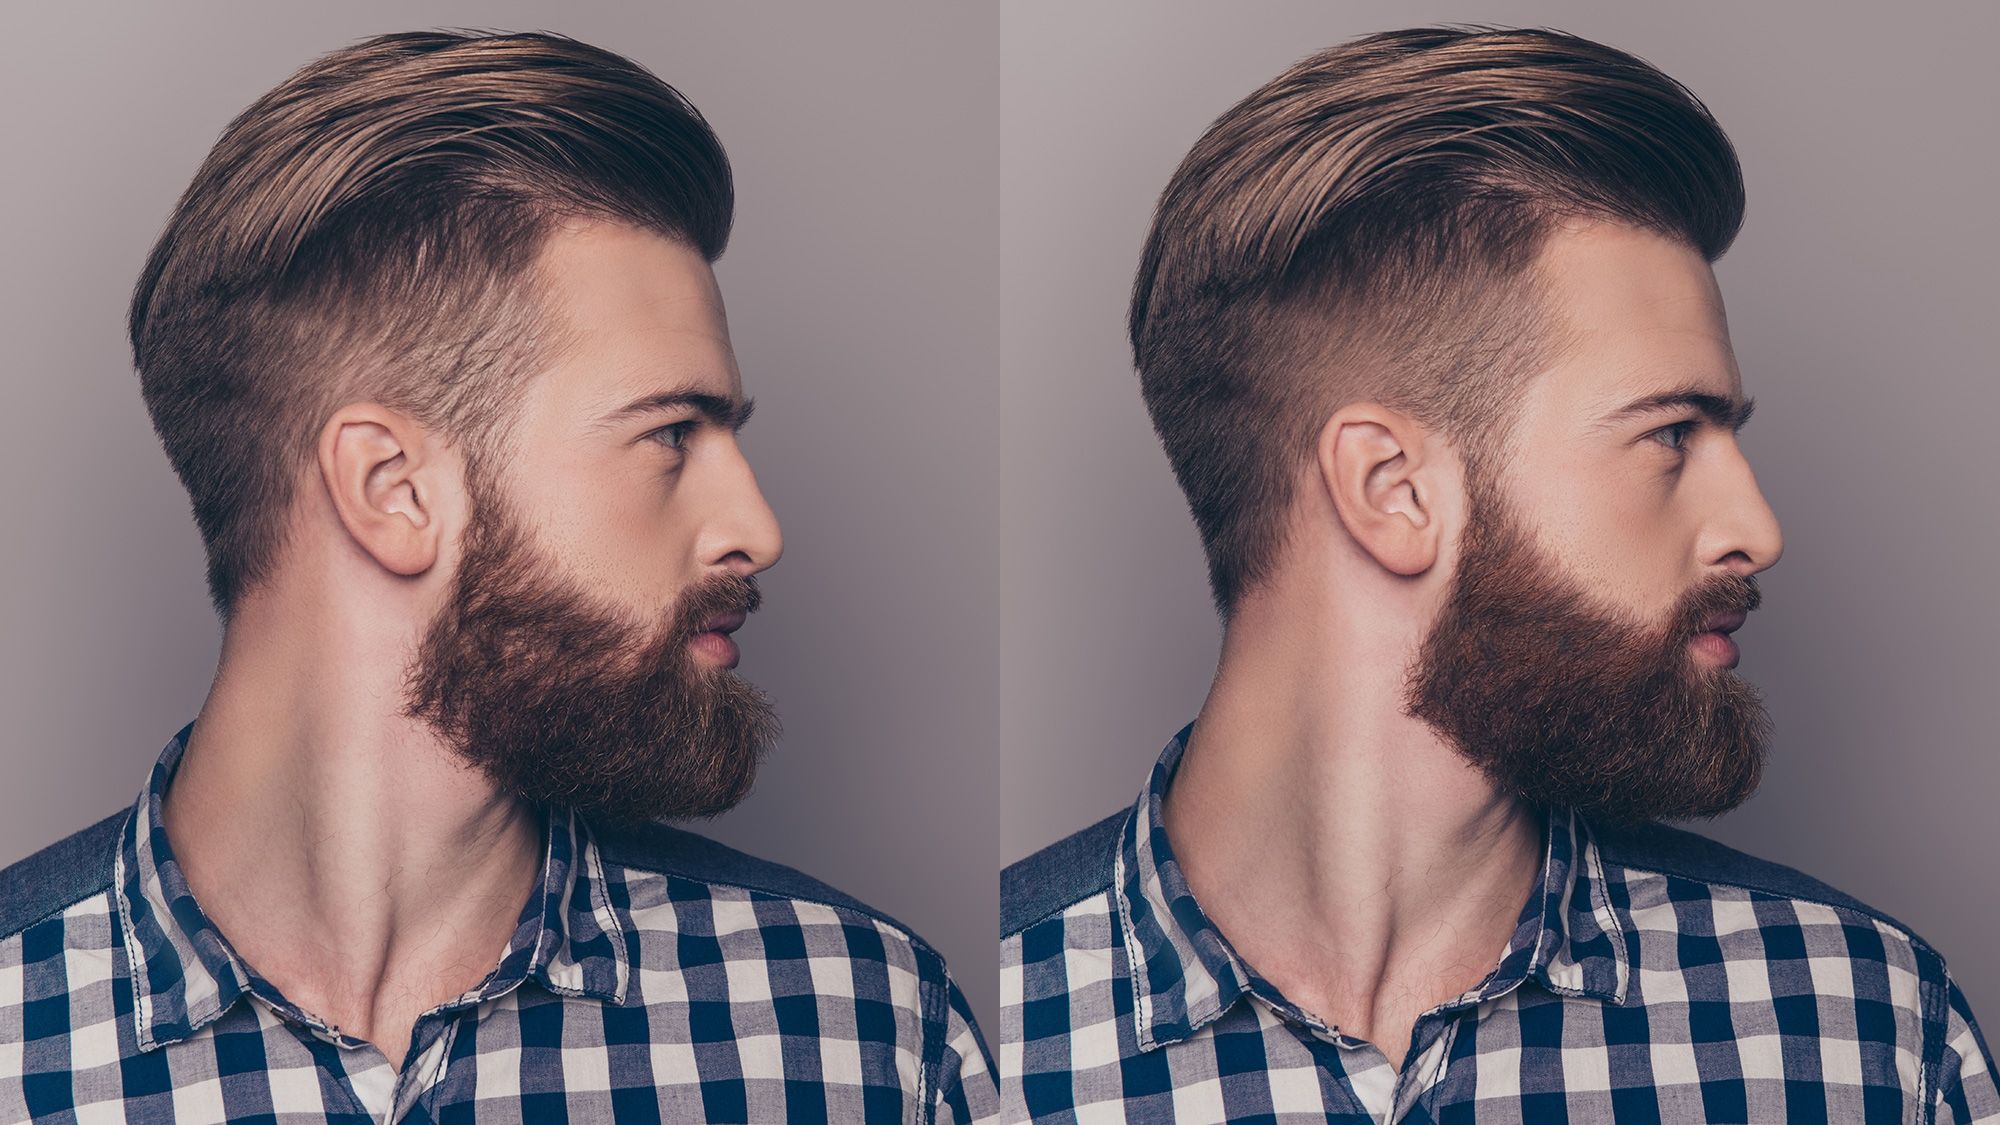
If you’re looking to add volume and neaten up hair, this Photoshop hair tutorial by photographer, retouched and educator Tigz Rice will give you all the tips and tricks you need. You’ll learn techniques including how to master the Liquify tool, dodge and burn, cloning using the Darken blending mode and a little touch of Frequency Separation.
Tigz has used a male model for the tutorial, and concentrated more on the beard – but the Photoshop techniques described here will work for both male and female subjects, and for hair on the top of their heads, beards and moustaches and elsewhere (for when you need to give your model a Tom Selleck-esque chest wig).
How to make a mockup

Working on a new design project or graphic and want to give your client a feel of how it might look in situ? Digital mock ups are a great way to show off your creative project without the need to spend money on test products, and they’re pretty easy to create too.
In this tutorial by Tigz Rice, learn how to realistically map your artwork or design onto an object – like a laptop or business card – to create a perfect mockup image.
Master Photoshop’s Select & Mask workspace

Photoshop CC has an all-new method for refining your selections and cutouts called Select & Mask. It’s not just a tool, but an entire workspace that allows you to gain unprecedented control over the selections you’re making.
In this Photoshop tutorial, Justin Seeley will walk you through the new workspace and give you some tips on how you can use it to improve your cutouts. He’ll cover things like making a rough selection with Quick Selection, examining our composite using the all-new onion skinning mode. You’ll also learn how best to refine complicated selections like hair using the Refine Edge Brush tool.
How to create an HDR Portrait

Struggling with blown out skies or underexposed subject? Why not try creating an HDR image. Short for High Dynamic Range, a HDR image does what it says on the tin, going beyond the dynamic range of the camera by merging together two or more source images, taken of the same scene, at different exposure levels, to capture more detail within the highlights and shadows.
The technique used to capture these source images is known as bracketing and, in this tutorial, photographer Tigz Rice will explain how to set up and shoot a series of bracketed stills and then merge them into a HDR image.
Digitally paint a beautiful animal-headed portrait

This artwork was created for a Tiger Translate event in Thailand, an exhibition and concert organised by the beer brand to showcase the work of up-and-coming musical and visual artists. It was painted by Ratinan Thaijareorn – aka Ise – a Thai painter whose art draws on fine art and fashion, as well as symbolism.
In this Photoshop tutorial, she takes you through the process of how she creates her work, first roughly comping the arrangement of elements using reference photos and then applying layers of brushwork above them to produce the final piece.
Create artistic 3D type

illustrator Charles Williams shows you how to create an elegant logotype with a 3D finish. You’ll then learn how to integrate it successfully into a photograph to give a naturalistic result.
Rather than using a 3D application such as Maya, you’ll discover how to apply your Illustrator and Photoshop skills to create a photorealistic artwork with depth and a unique character.
https://www.digitalartsonline.co.uk/features/creative-software/best-photoshop-tutorials-of-2017/