

At home with no camera or studio lighting? Tigz Rice teaches how to capture incredible-looking photos of both flat and 3D artworks with only what you have to hand.
It’s coming up to graduate show season, and after months of hard work creating your perfected final pieces, suddenly you’ve found yourself in lockdown without all of the tools and equipment you’d usually have to help you showcase and present your work. You may have even been told your physical graduate show will be now be an online event, and you will need to curate your final piece accordingly.
If this all sounds familiar, then don’t panic, because London-based photographer Tigz Rice is here with plenty of tips to help you get the best photographs of your artwork using regular, everyday items and technology you should be able to find in your home.
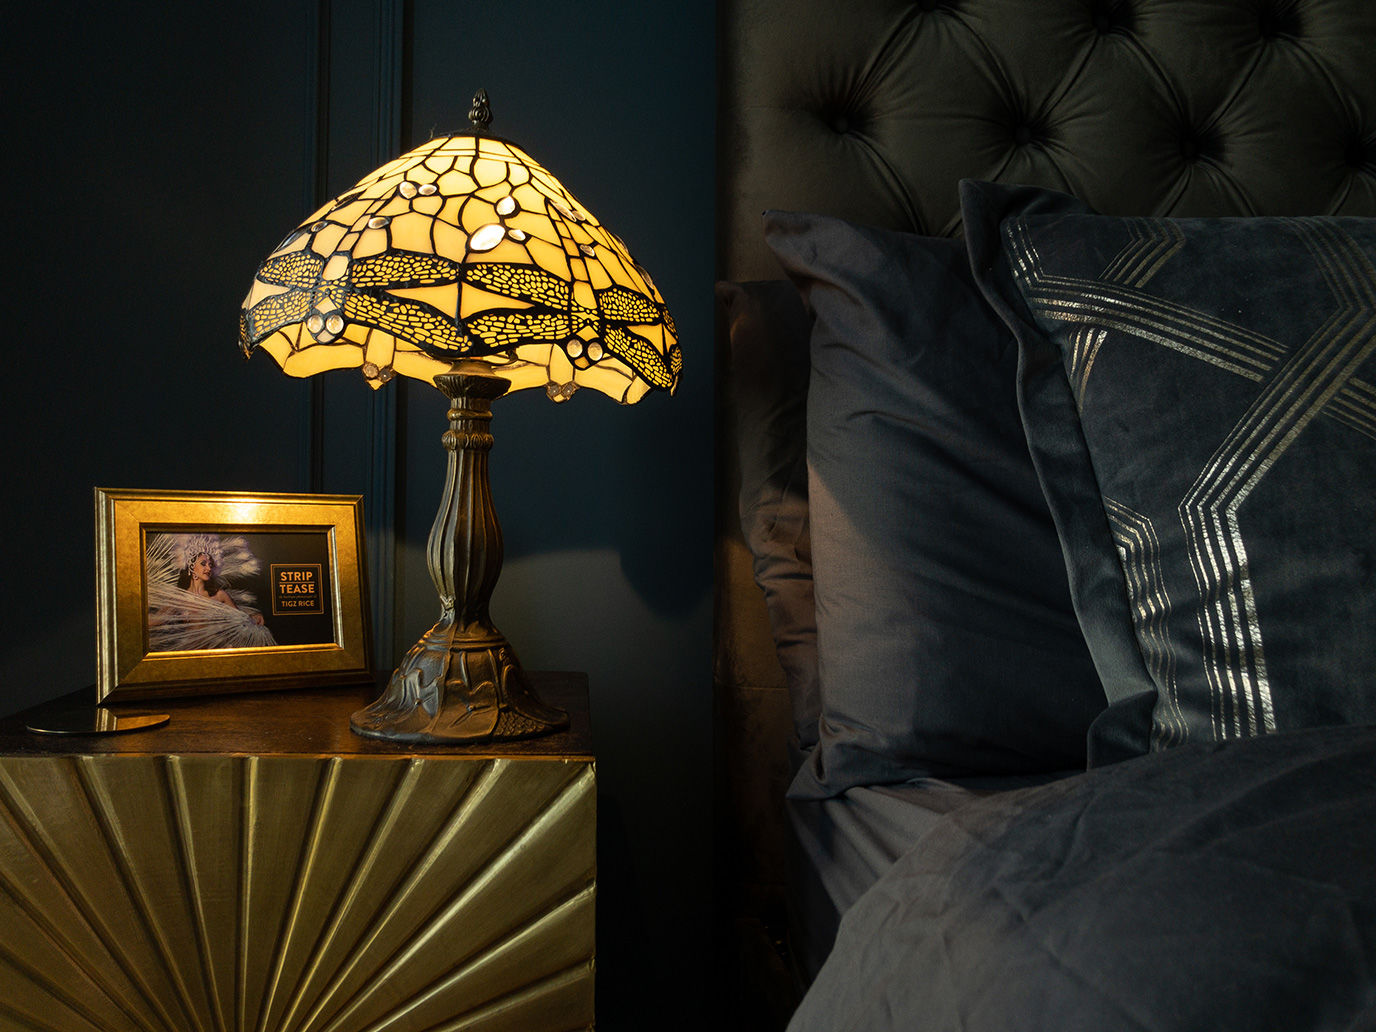
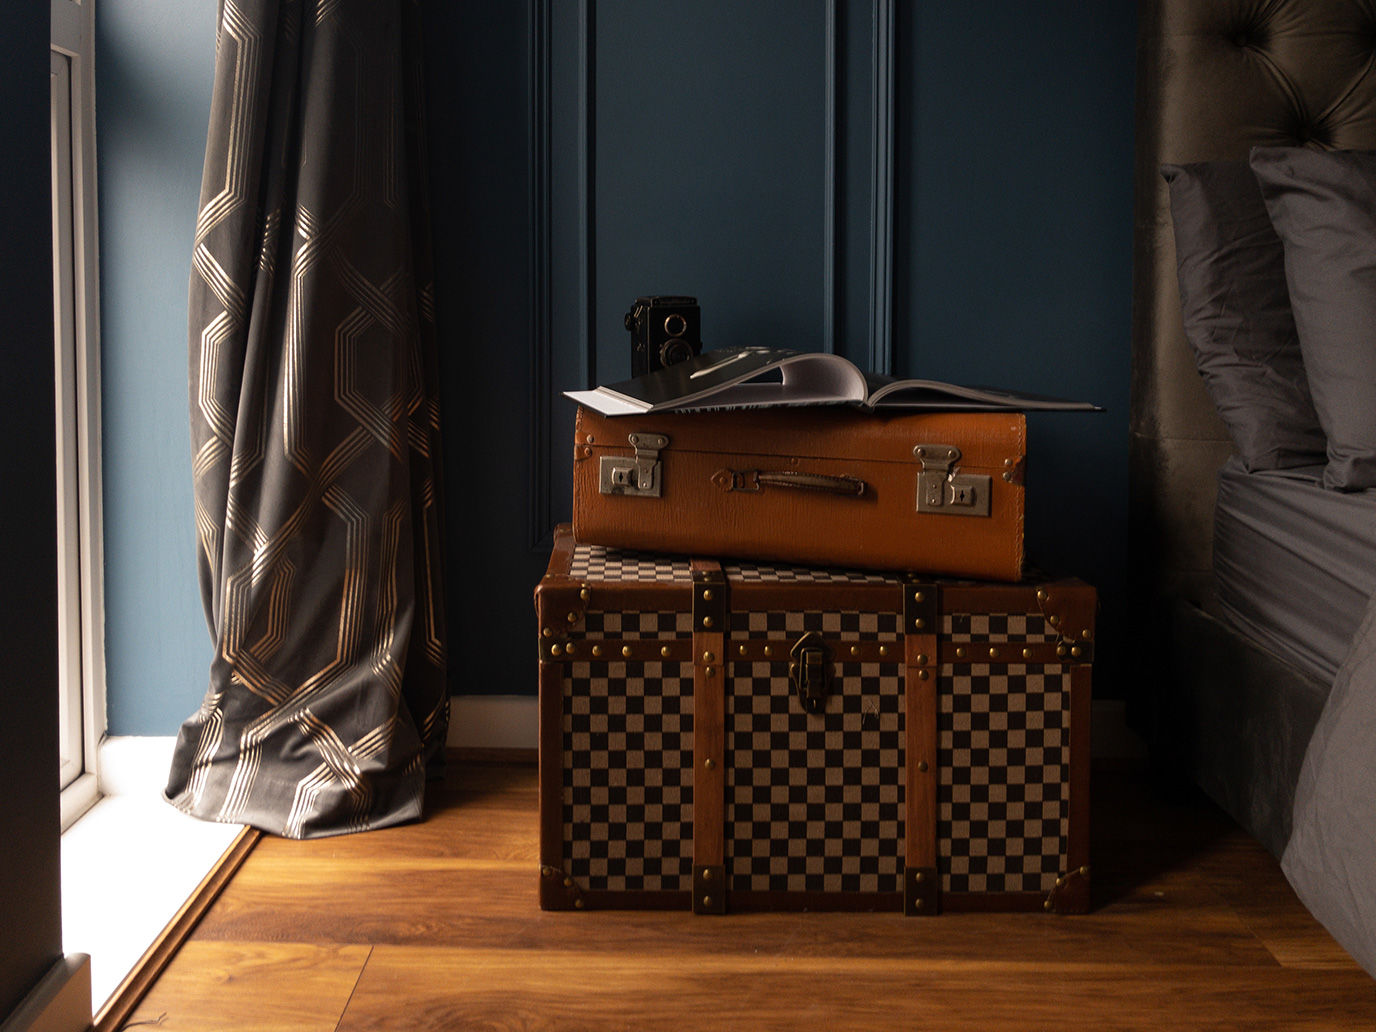
All of the photos here were captured using an iPhone 8 – and not using Tigz’s usual collection of digital SLRs and studio-grade lighting. Under lockdown, she’s used what she has to hand as subjects for her photos – with her own book Strip|Tease – The Burlesque Photography of Tigz Rice standing in for flat artwork or books you have created, and an antique camera representing sculptures or other three-dimensional objects.
Camera Settings
Generally speaking, unless you happen to have a professional camera lying around your home, the next best thing will be the phone built into your camera. If you happen to be in lockdown with others, take a couple of test shots on the back facing camera on each device, in the same lighting conditions, and find the one with the best image quality.
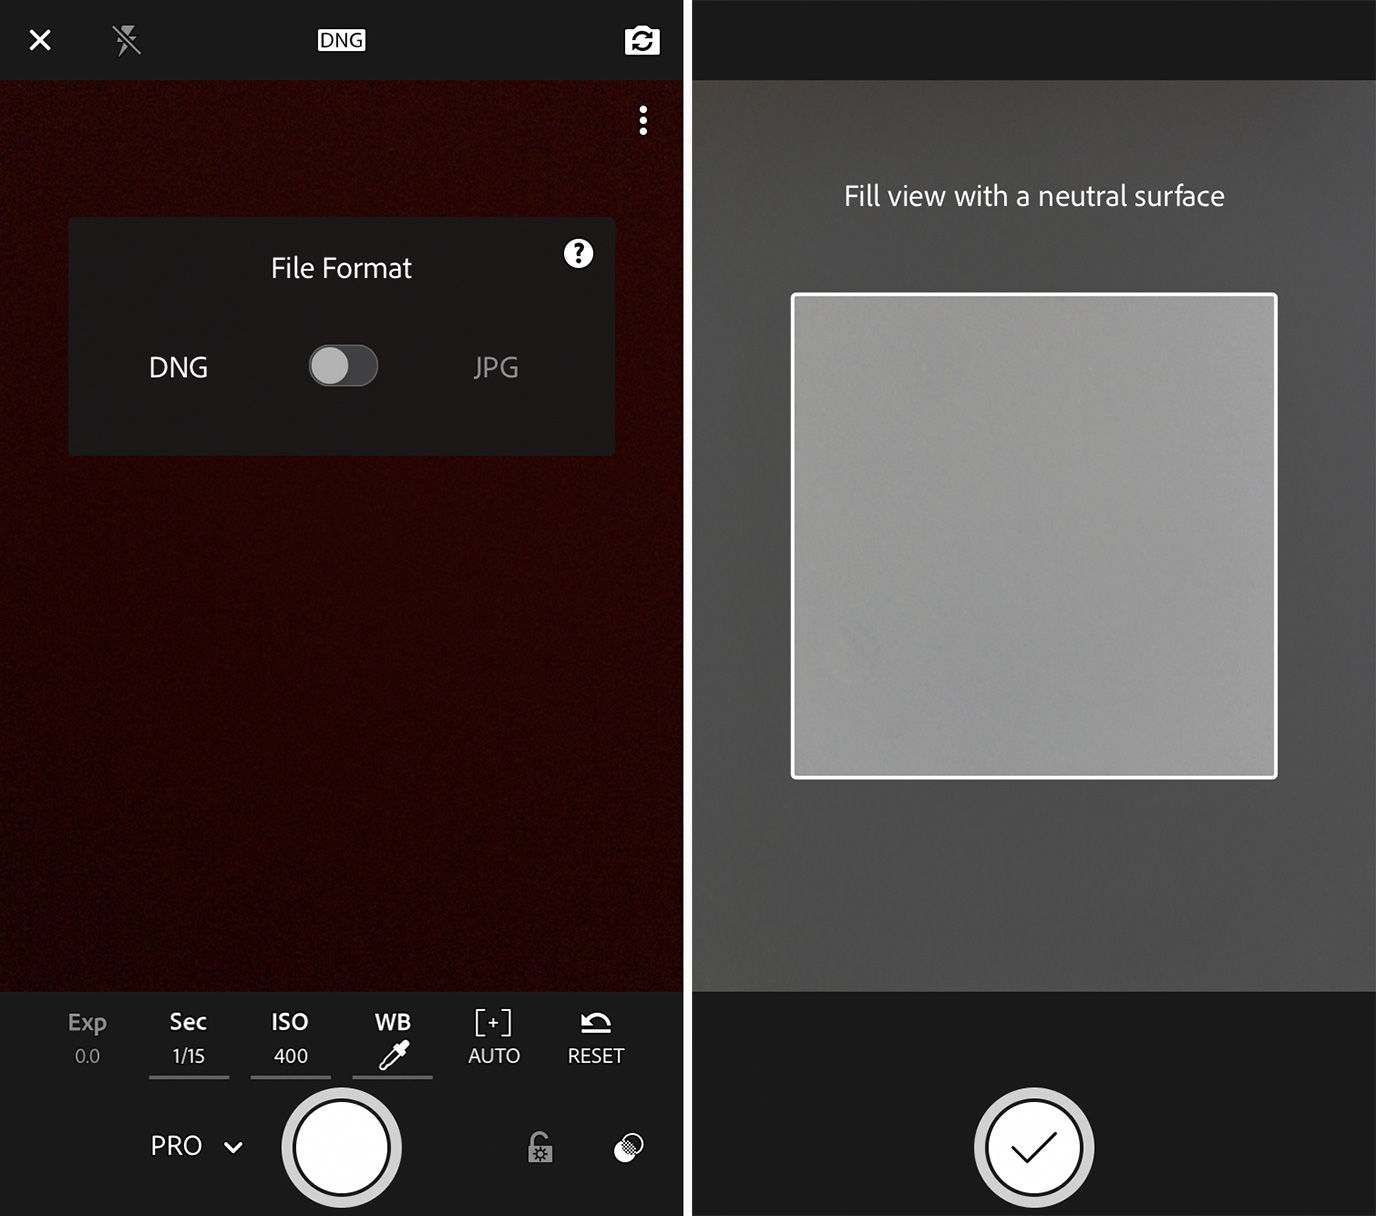
Most phones now offer RAW or DNG shooting formats, so check through your phone’s settings for this functionality and make sure it is turned on. If you’re using an iPhone, this option is available to you but you won’t find it in your settings, so you’ll need to shoot through a third party app like Adobe’s Lightroom (free to use). You can toggle between JPG and DNG shooting mode easily in capture mode.
Take several shots of each set up, so you have options in post-processing. If it helps, you could always set up a tripod to hold your phone in place between shots. If you don’t have a tripod, you could create a makeshift one – or Joby’s excellent GripTight One is easily available from Amazon.
Lighting
Shooting during daylight hours in a room with white (or close) walls will provide the the easiest and most colour-balanced lighting to work with, whilst minimising noise in your photos. The weather outside will affect the quality of your natural light, so ideally pick a good weather day wherever possible. In other words, if it’s nice outside and the light looks great, do it now, don’t put it off until tomorrow.
Find the spot in your home with the best diffused natural light, ideally from the largest window in your home. If you have net curtains, these do an excellent job of diffusing light. If not, you’ll need to be a good metre or two away from the window with your artwork to avoid hard or direct sunlight.
If you need more light than you have, consider other options available to you. Camera flash is often very harsh, but if you have a portable selfie light or ring light, you could use that to brighten the scene.
I’ve also been known to open up my laptop, create a new blank document in Photoshop, turn up my screen brightness and use that as a lighting source.
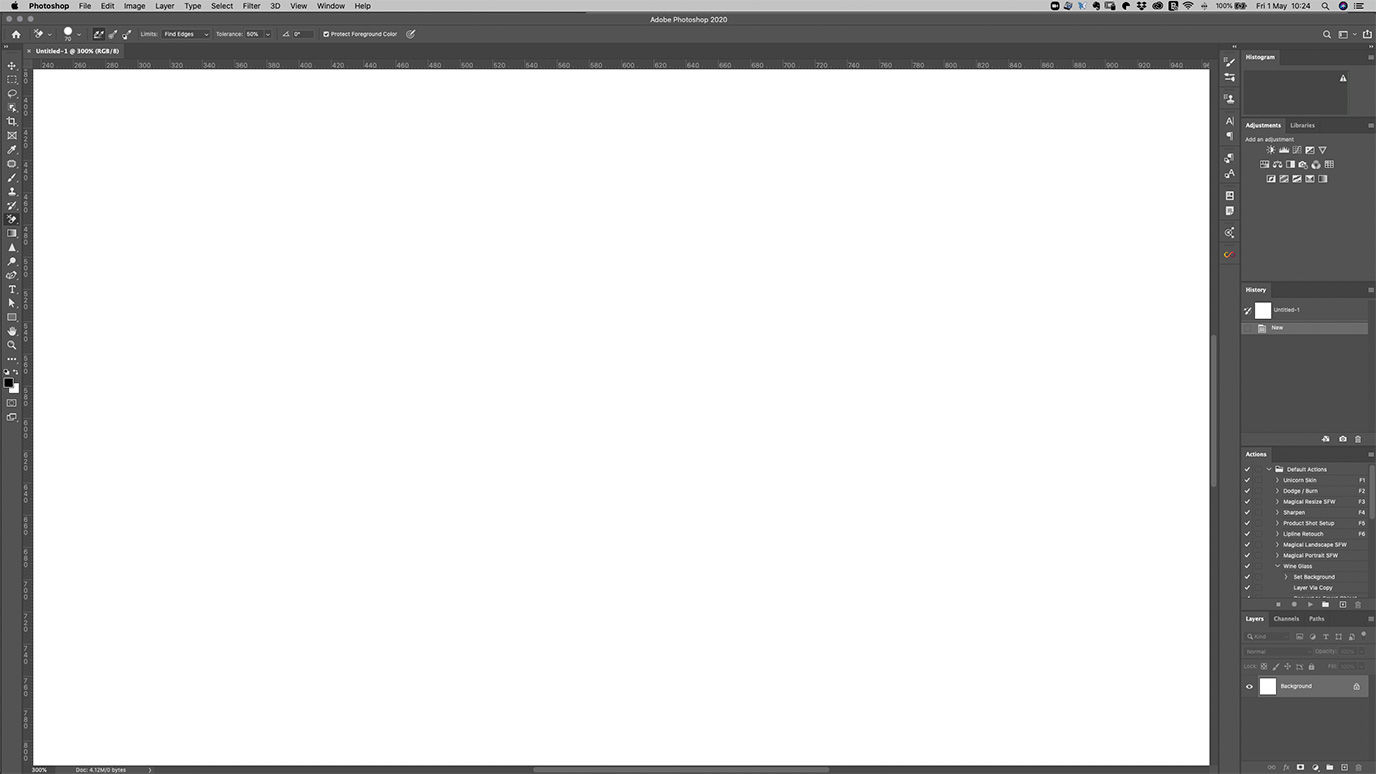
The benefit of this method is you can also add ‘colour gel’ effects by changing the colour of your background.
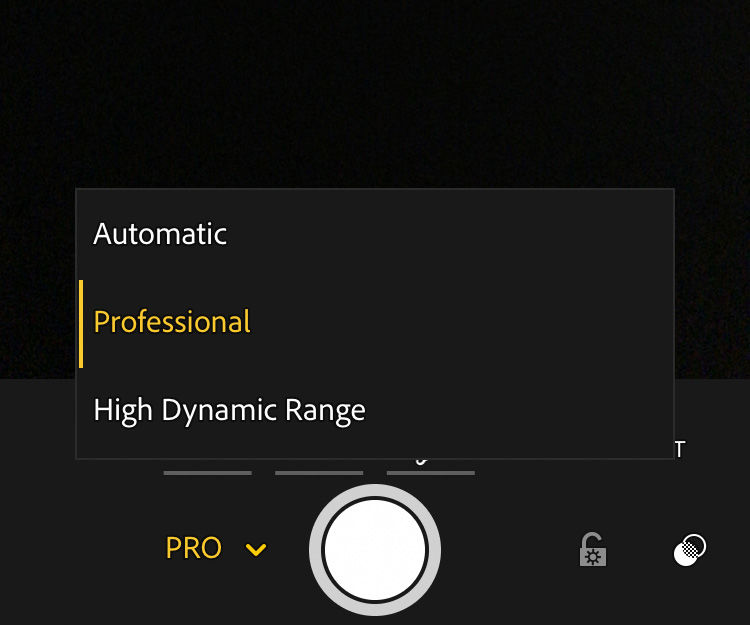
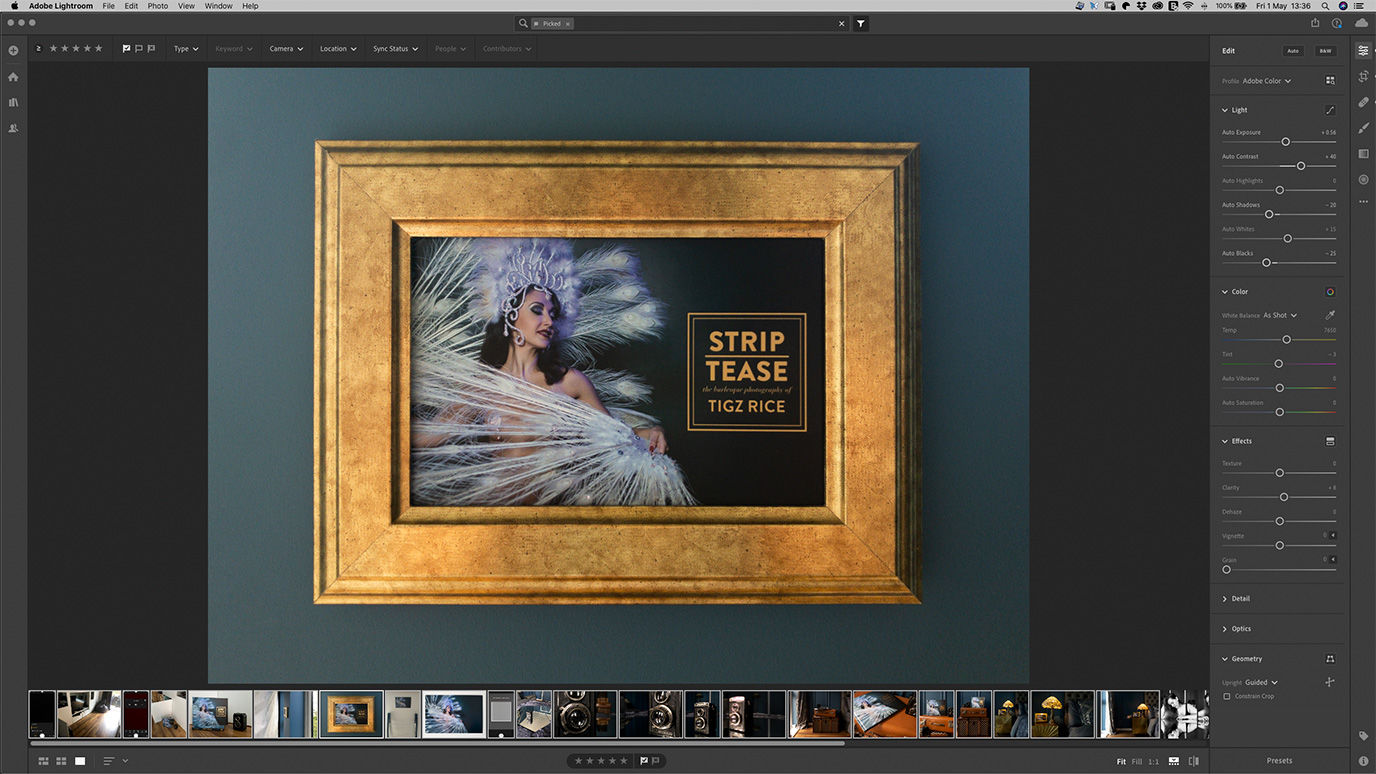
If you’re shooting through the Lightroom app, make sure to use Professional Mode, which will allow you to set a custom white balance. Simply click on the eyedropper icon and focus your camera on a natural colour (ideally grey). Of course, if that golden, grainy tungsten aesthetic suits the mood for a more artistic shot, feel free – know that you have options available to you.
Wherever you shoot, make sure your body isn’t casting any unwanted shadows on your work.
Flat Artwork
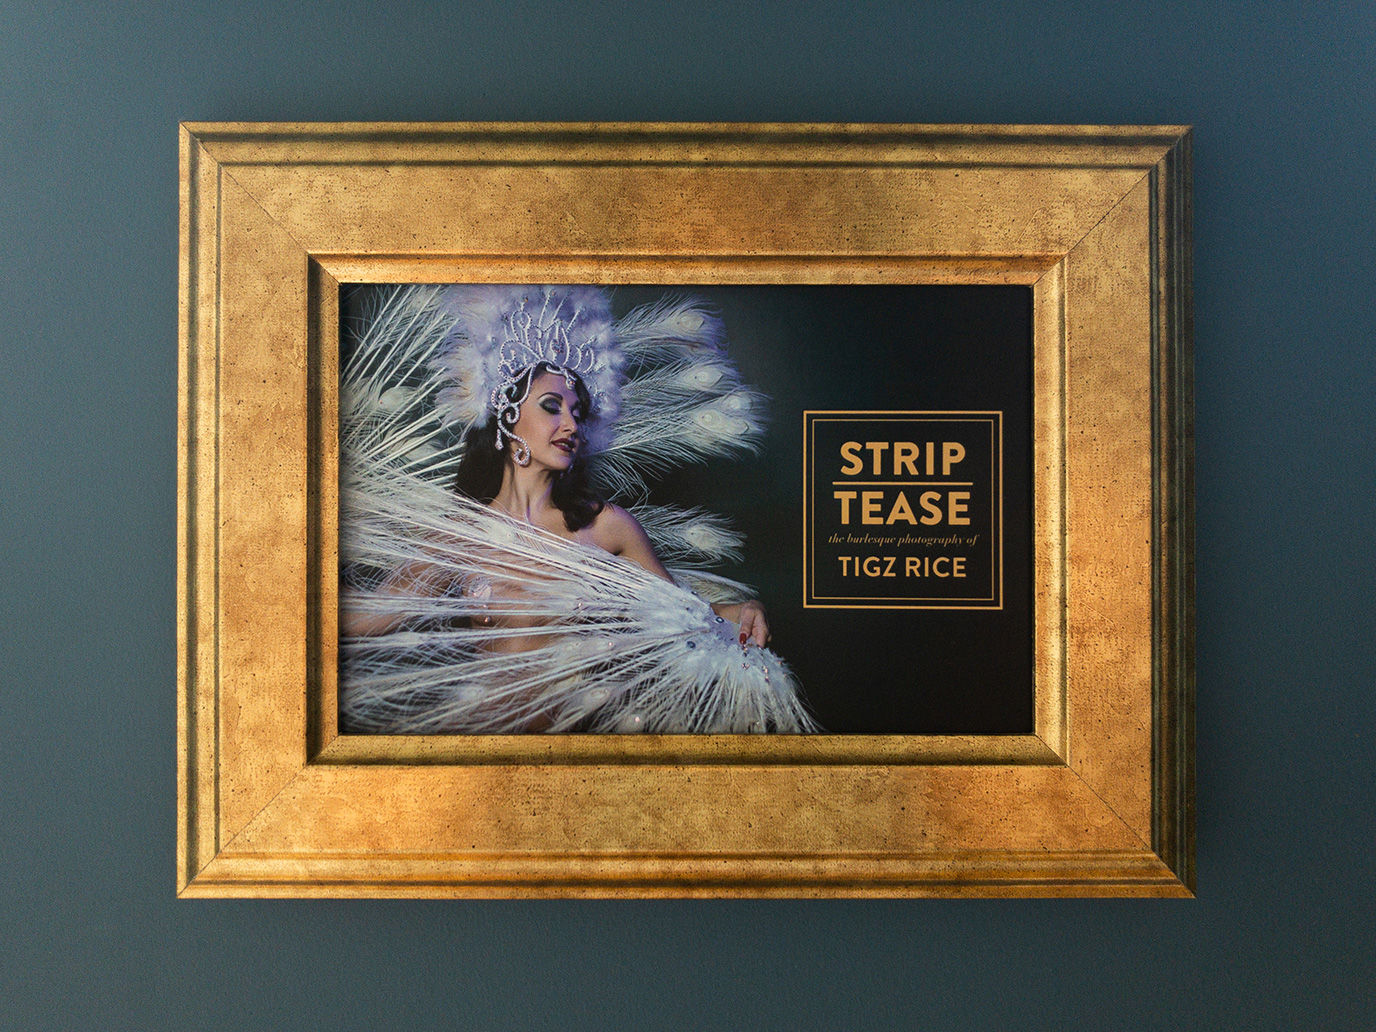
If you’ve got a picture frame lying around the house, consider framing any flat artwork to give it a polished finish. Leave the glass off the front of the frame when shooting so you don’t get reflections.
The easiest way to photograph flat artwork is to pin/hang/tack it to the wall. I can tell you from much experience that laying it flat on the floor and hovering above it never gets the decent results you hope for.
Setup:
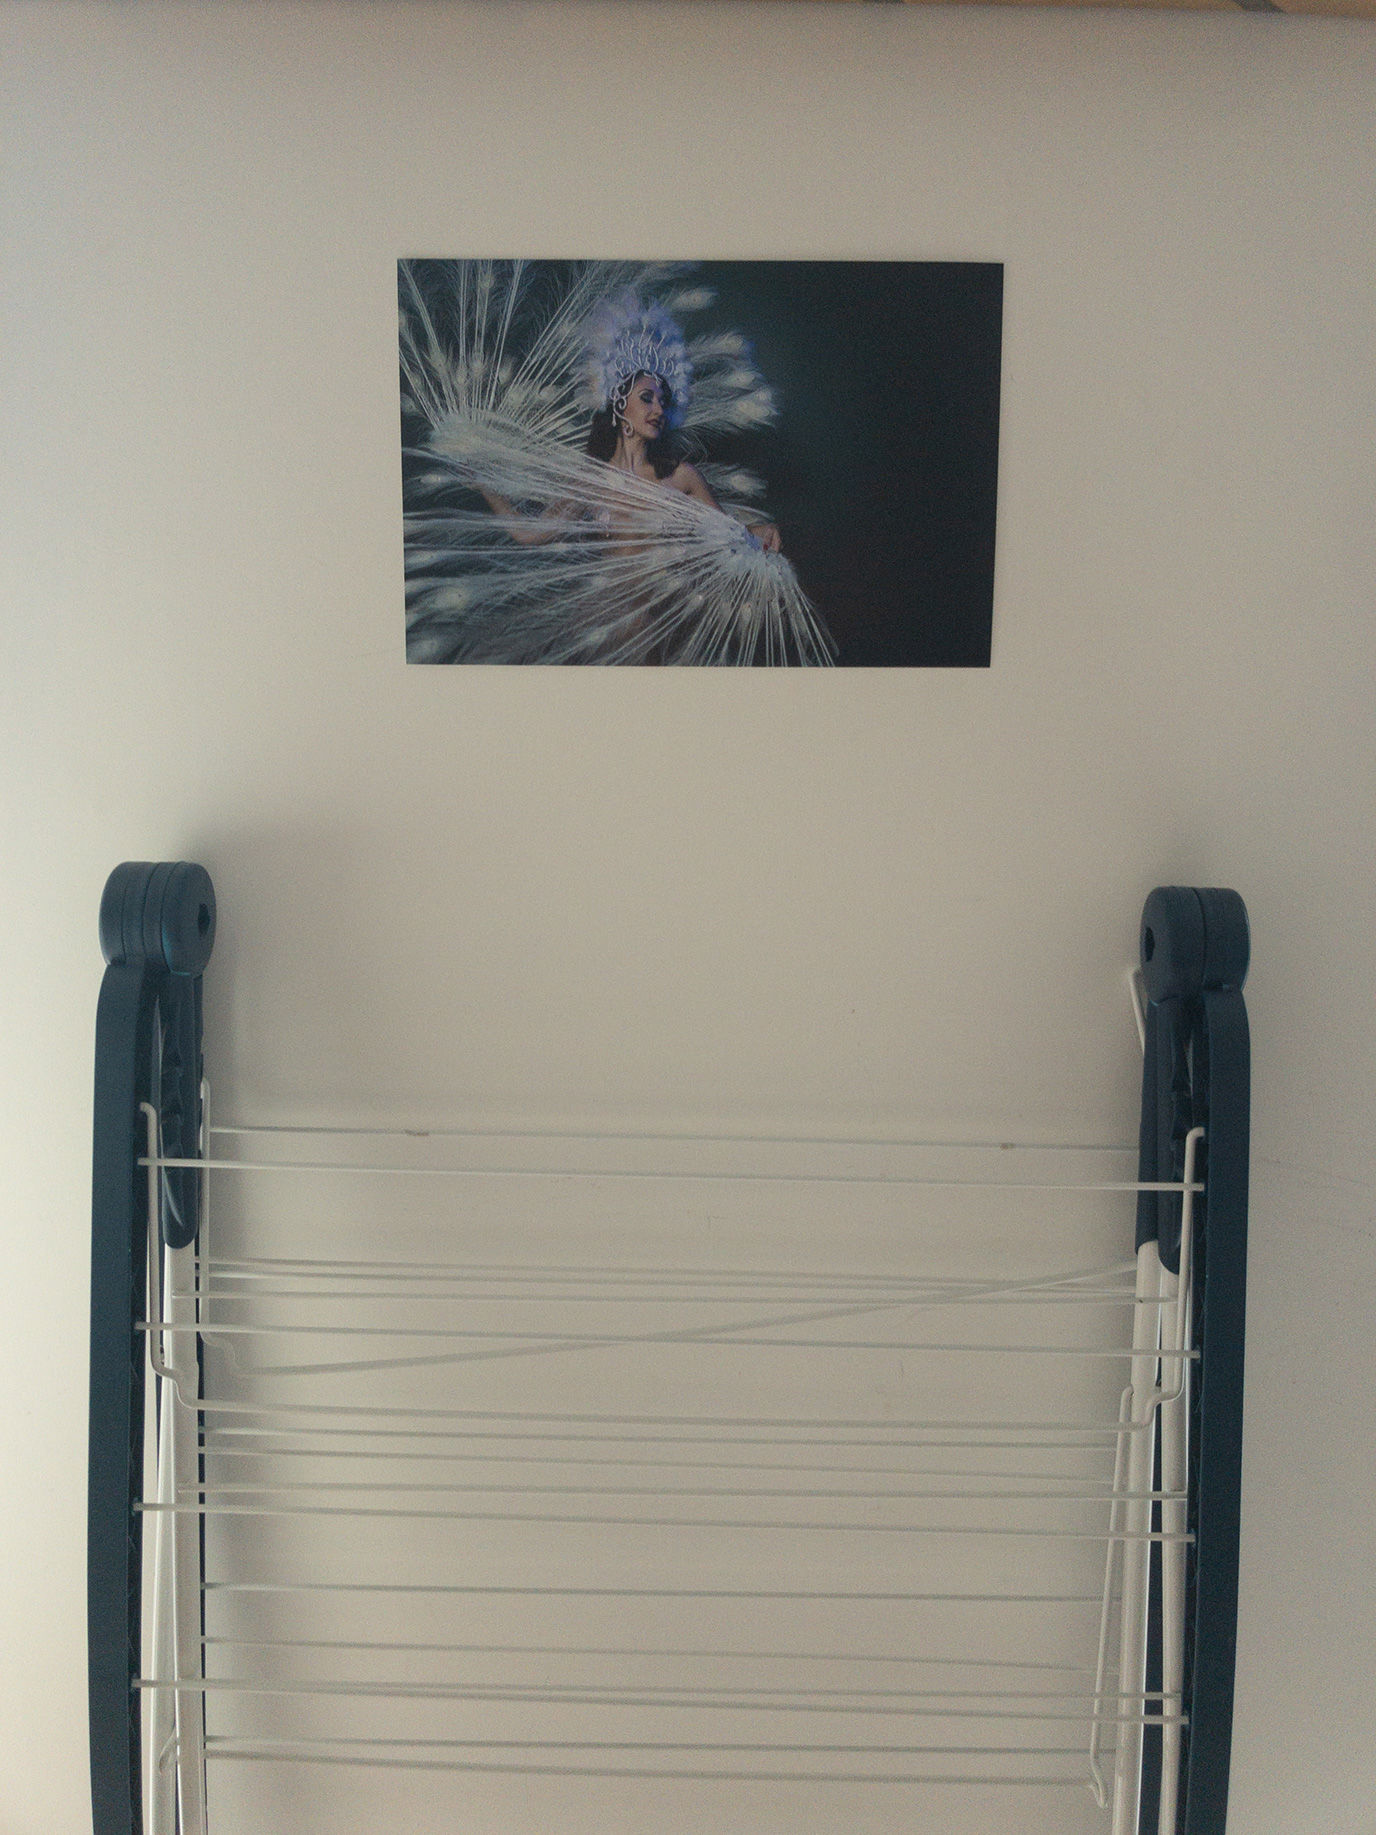
Captured image:
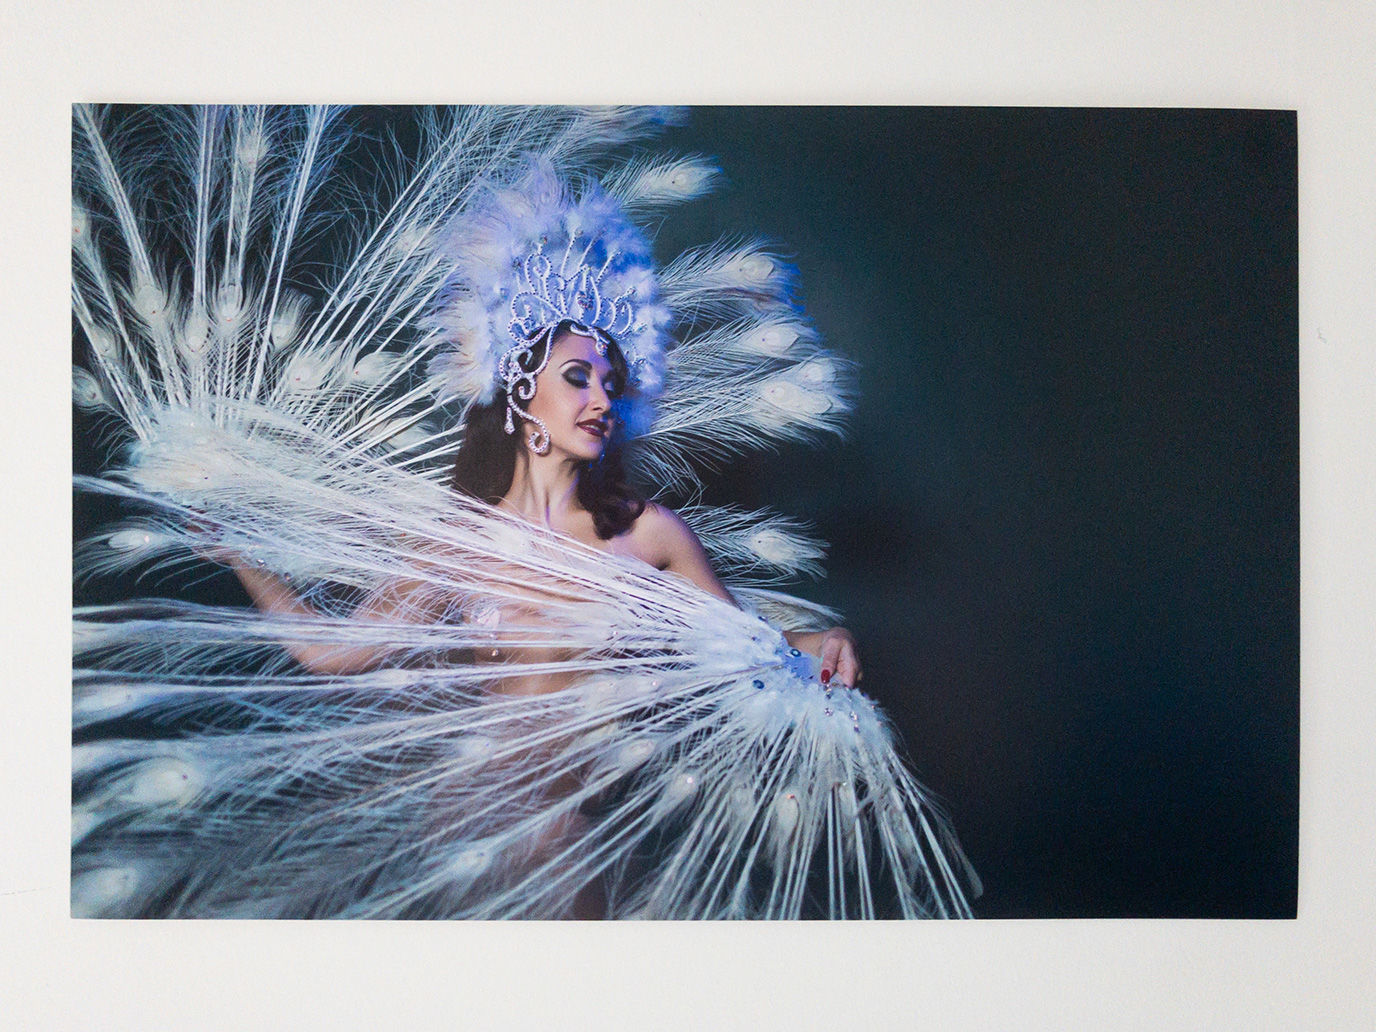
Face any matte artwork directly towards your light source for the most even lighting. If your artwork is glossy or showing reflections from the window, you might want to do the opposite, pinning it to the same wall as the window and creating a makeshift reflector out of white fabric and bounce the light back onto your image.
Here’s a shot I took of my print on the wall between two windows, using the white lining of my curtain as a reflector.
Setup:
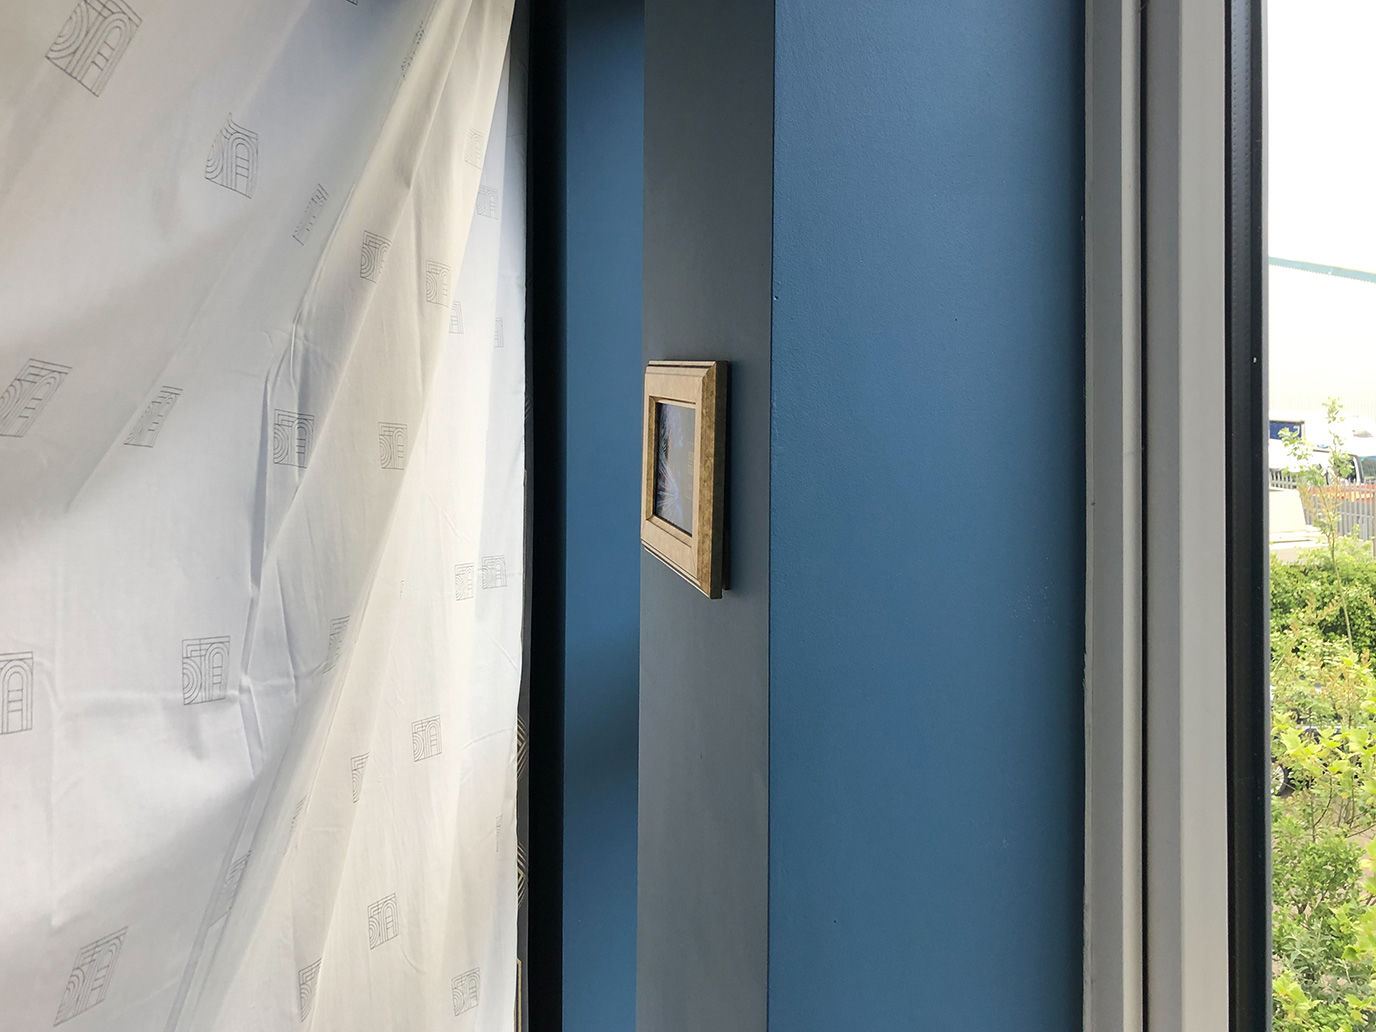
Captured image:
Make sure your camera and artwork are completely parallel to each other. To avoid as much camera distortion as possible, aim to shoot with your phone camera held directly in the centre of the artwork. Give yourself a small amount of extra space around the artwork to allow for cropping and straightening afterwards if needed.
If you’re shooting a painting, why not get in close and shoot some of the details and texture, so you can give viewers the full dimensional experience.
If you’re shooting a framed print, why not go further and pop the frame into a still life setting afterwards, surrounded by other objects. Create a narrative for the artwork. Maybe even consider creating something like a moving portrait using an app on your phone.
3D objects
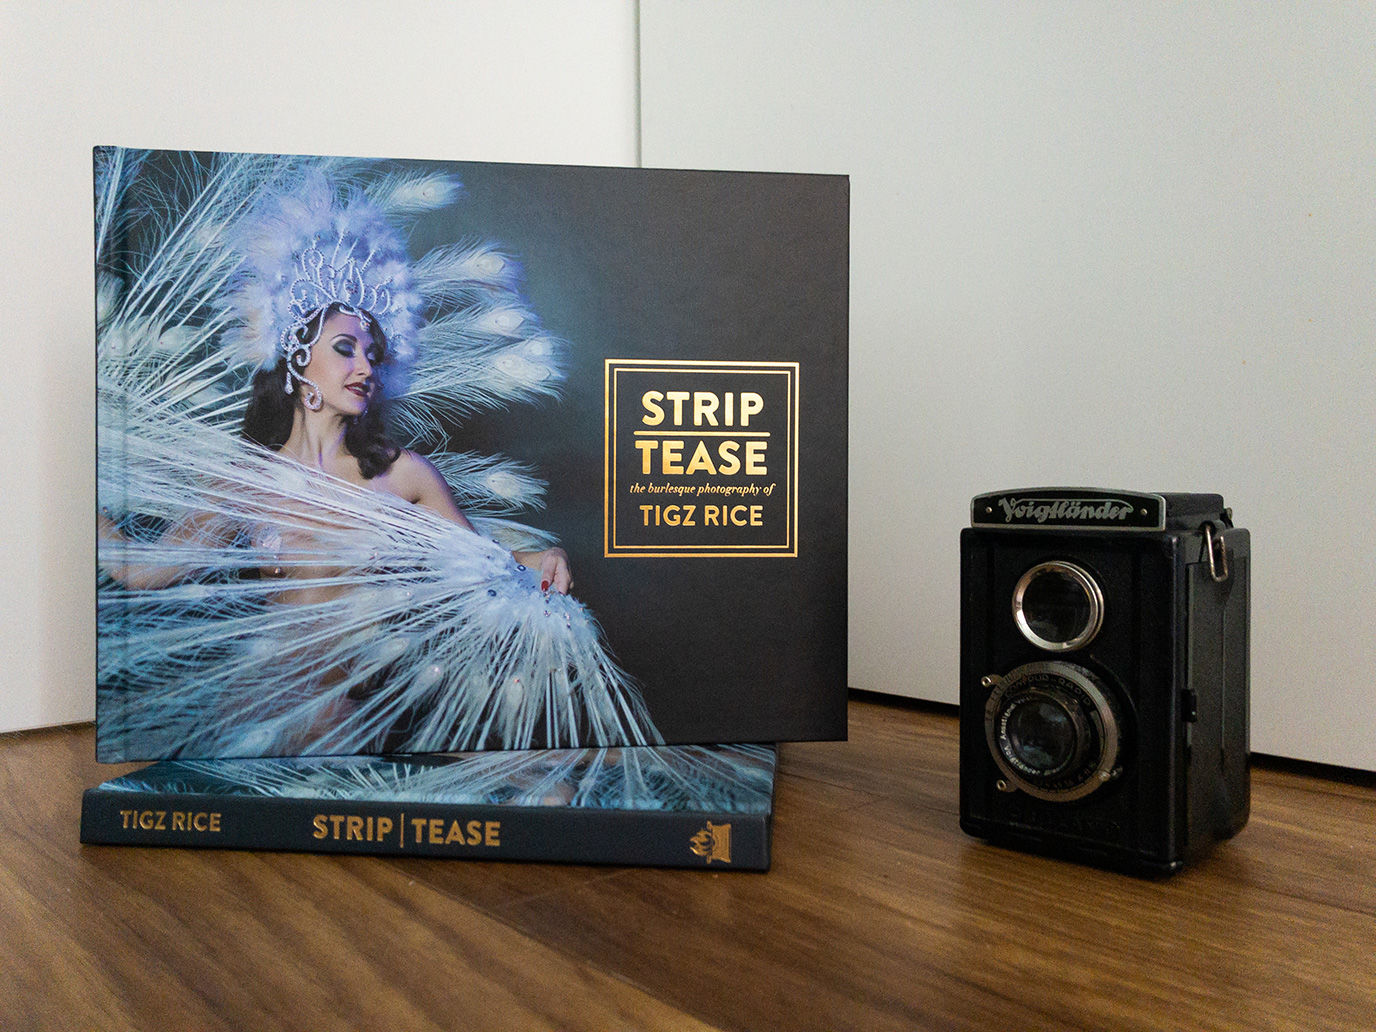
Consider the environment you are presenting your artwork in and how it complements or contrasts with your object. You could find a picturesque spot in your home, create a set using found objects, or even put together a little makeshift studio set up with white card, some neutral wood and/or a fabric backdrop (iron or steam first to get out the creases!). If you’re really struggling, I’ve also included a very basic example using wooden floorboards and a white cupboard door.
Setup:
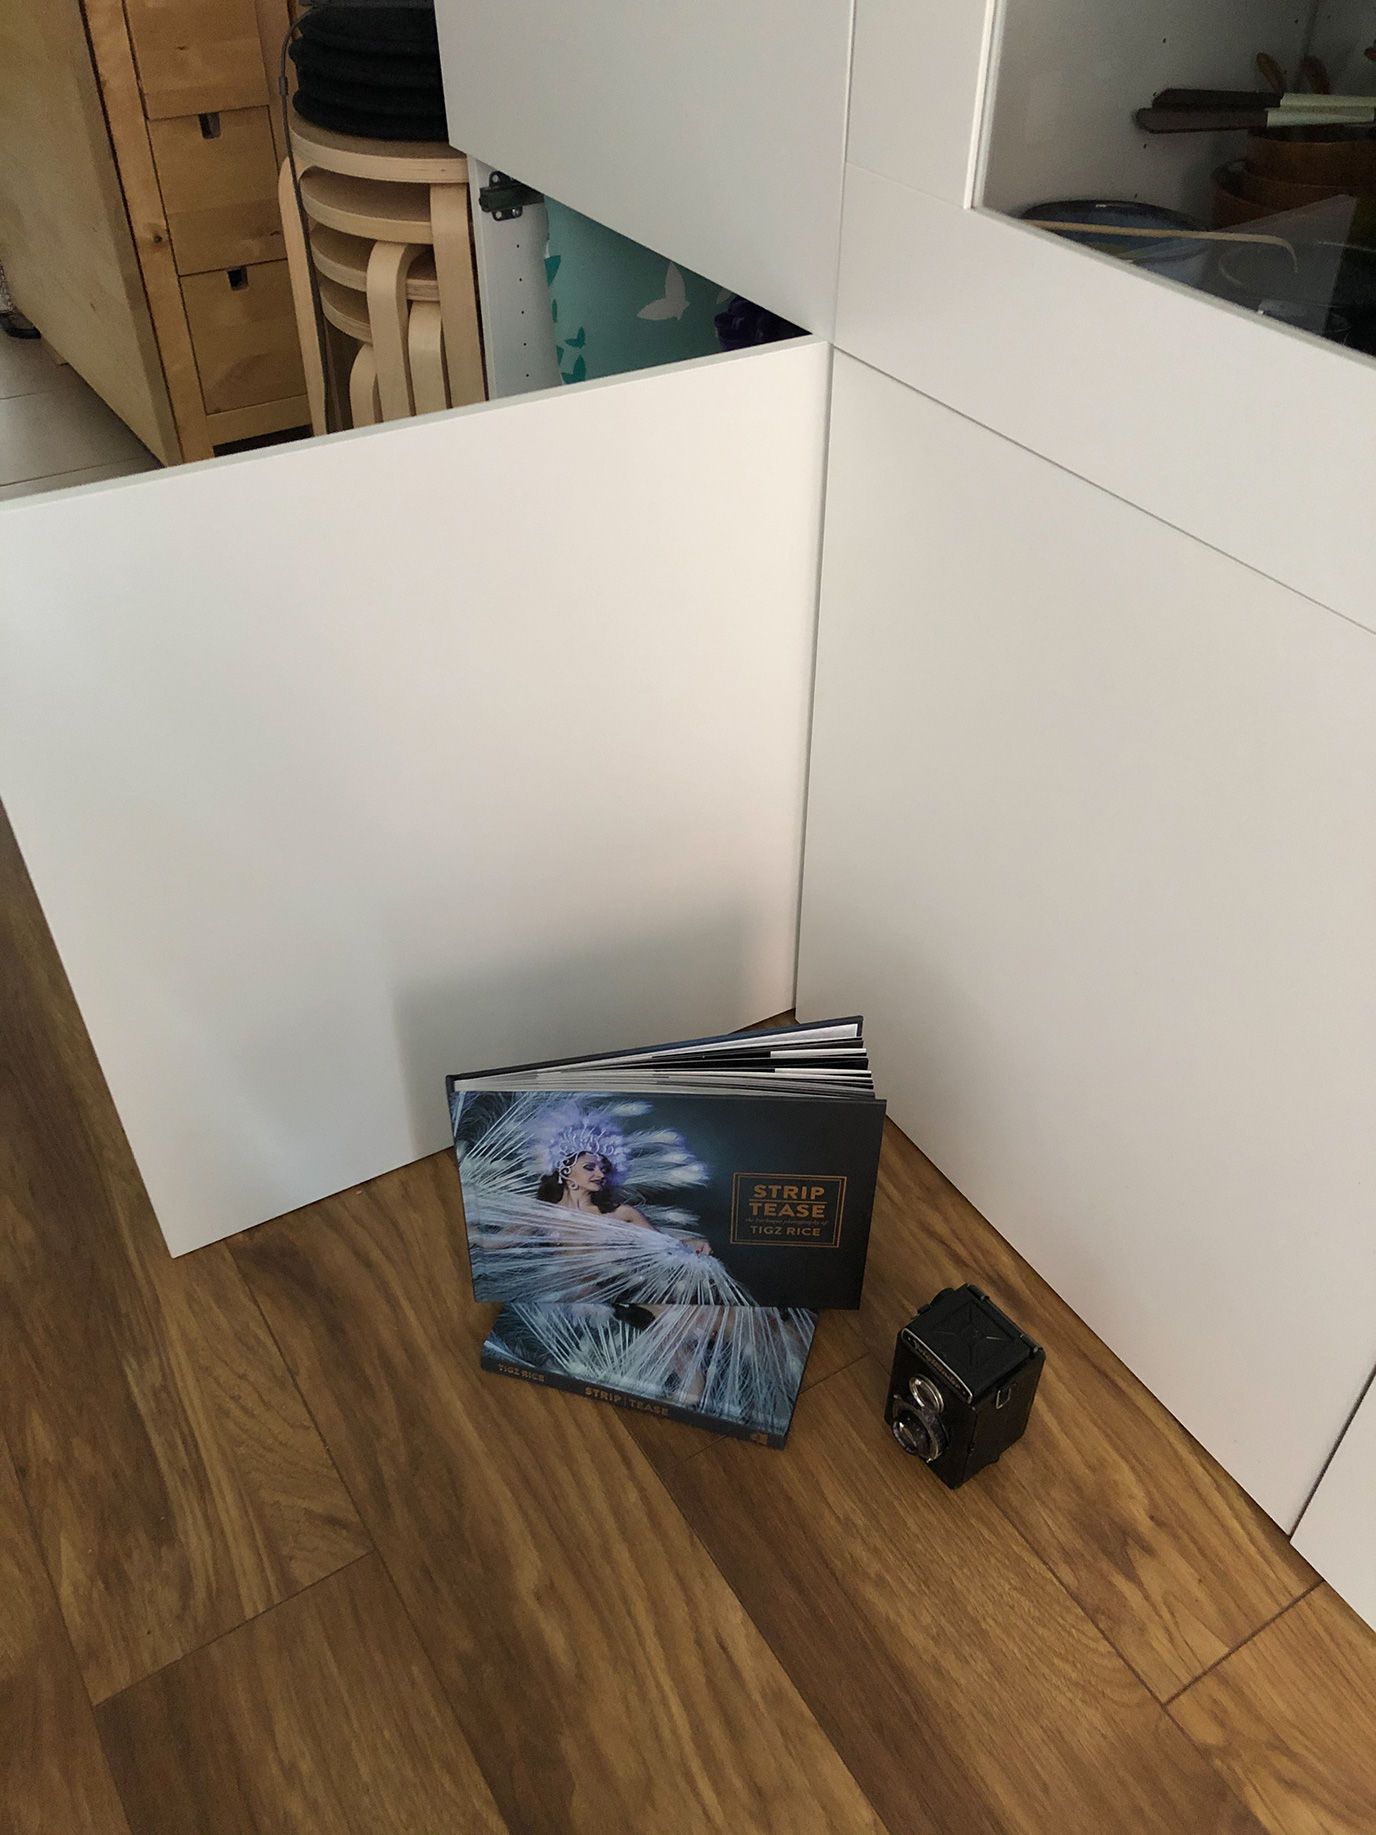
Captured image:
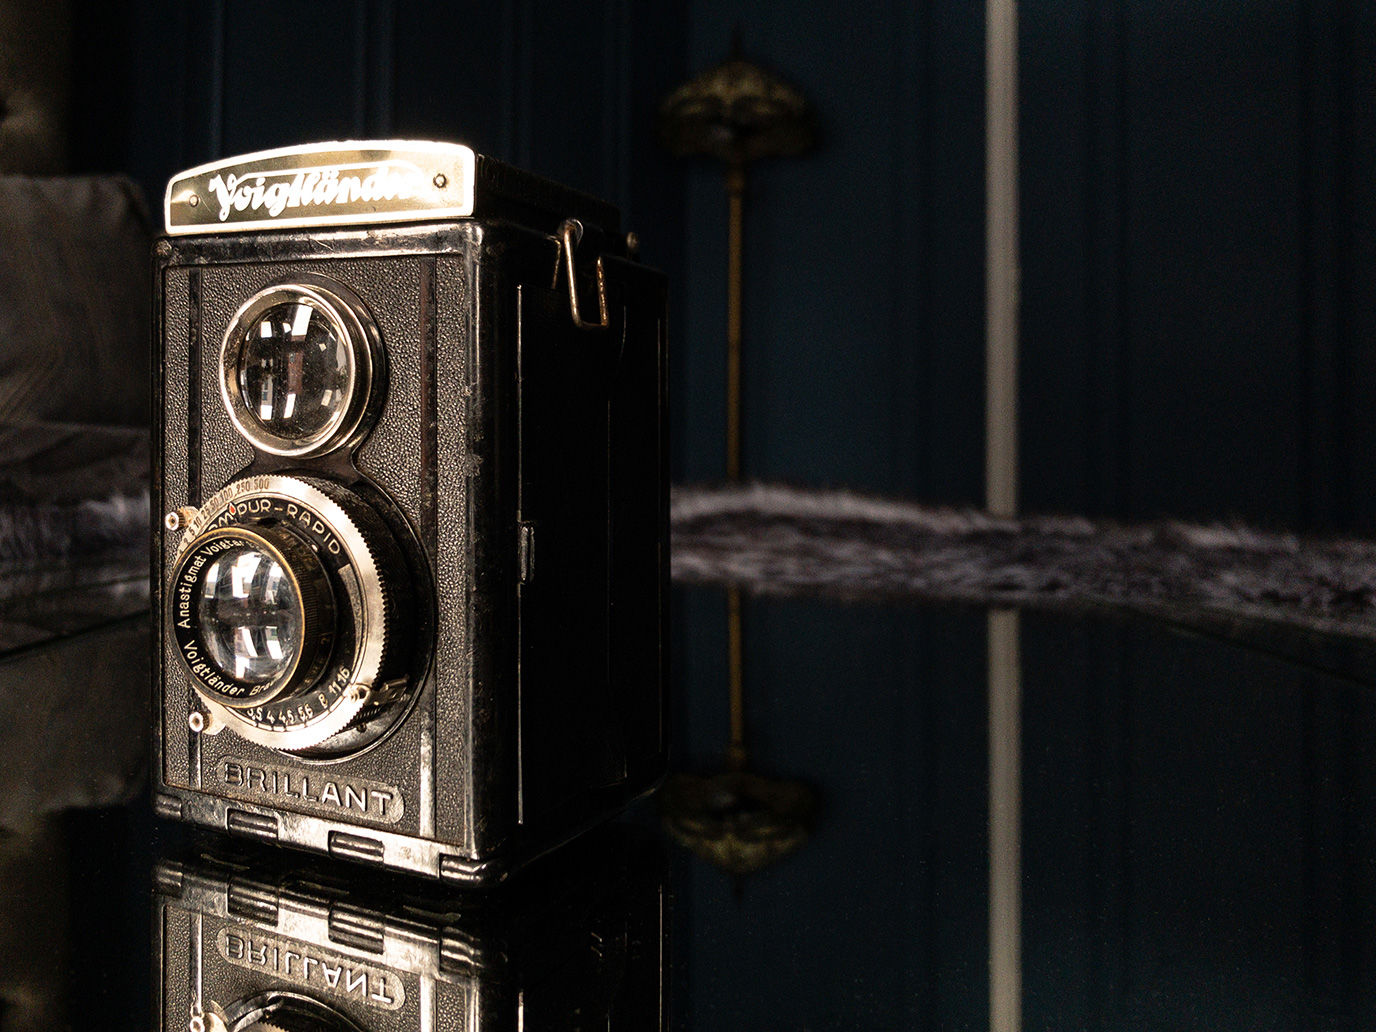
A sheet of acetate, mirror card or even an actual mirror will provide a reflective surface to shoot off, which might add a nice finish to a 3D object shot.
Setup:

Captured image:
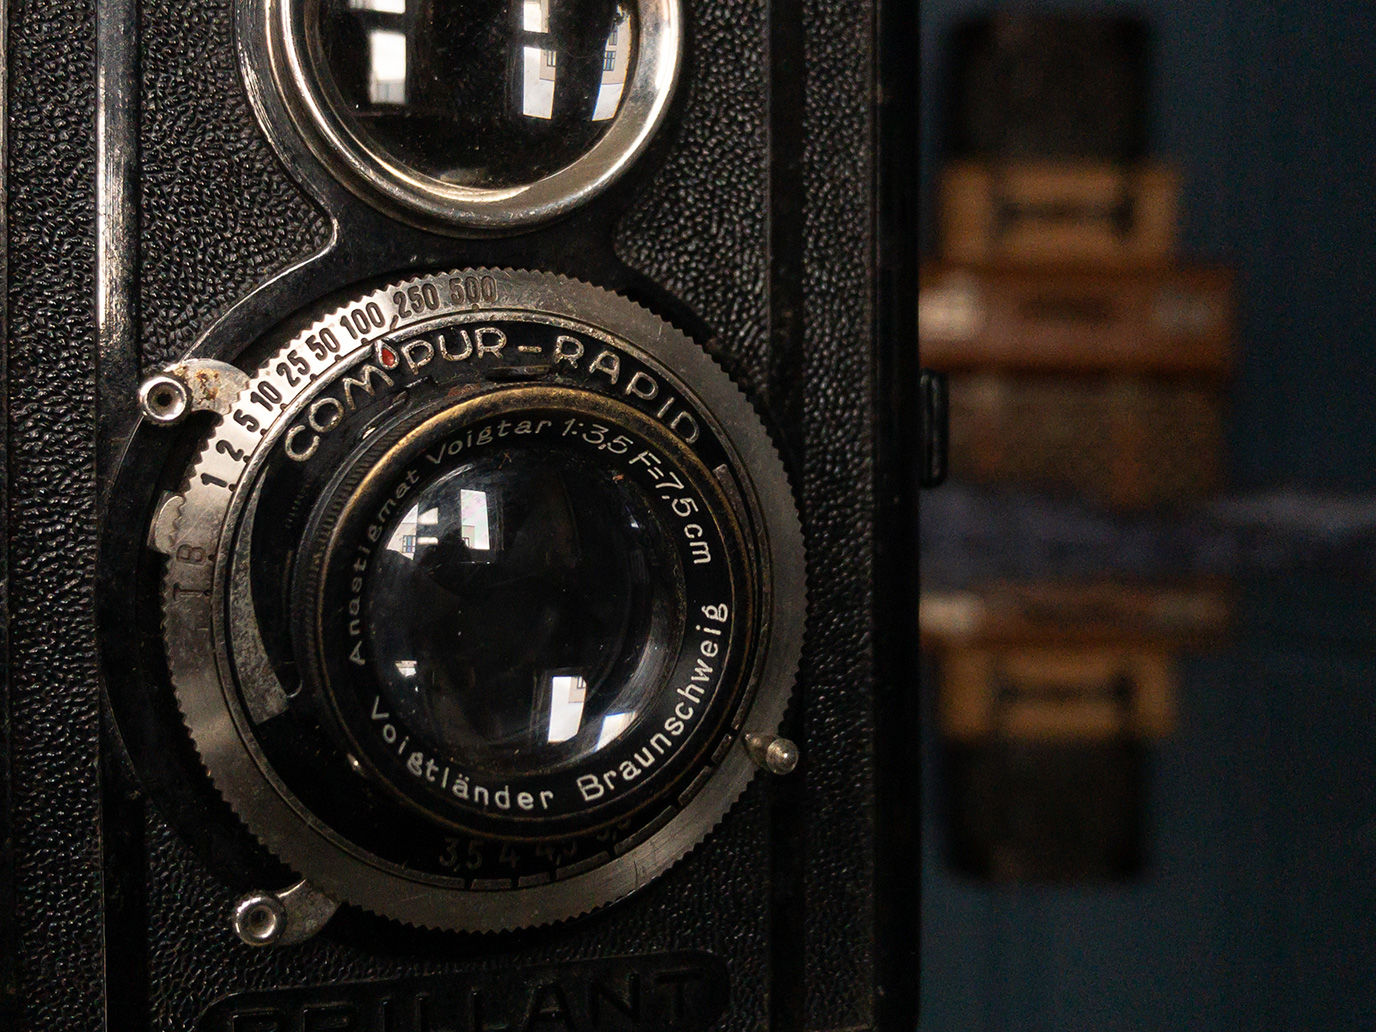
Don’t forget to shoot your 3D object from multiple angles, as well as focusing in on the details, so you can give viewers the full dimensional experience.
You could also consider putting together a little video of your product. If your final piece a book, a flick through the pages often goes down really well.
Editing
Spend a little bit of time afterwards cleaning up your image, either in app or back on your laptop.
Crop the image where necessary and lift the exposure where needed.
You could also add a very small amount of Sharpening/Texture/Clarity and add a touch of Vibrance/Saturation if required.

If using Lightroom, use the Geometry (mobile app) or Transform (desktop app) module to correct any perspective warp during shooting.
https://www.digitalartsonline.co.uk/features/photography/how-photograph-artwork-sculptures-at-home-during-lockdown/