Now that we’re spending more time indoors, we’re finding new platforms — and new ways to use old platforms — to stay in touch, whether it’s for work or with friends. This is the case with Slack, an instant-messaging platform which functions somewhere in the space between email and text messages. Designed for quick communication, Slack became an important tool for a lot of workplaces well before everyone started working from home. But you can use it for pretty much anything: friends, group activities, clubs, or online communities.
Slack has a free version and offers several paid plans. You start by setting up a workspace (which is your main area of operations, and contains your network of contacts) on Slack. In your workspace, you create channels, which are like chat rooms or group chats. In those channels, you and your friends / family / team members can text chat, exchange files, integrate with other apps such as Google Docs and Office 365, and even have video chats (although if you’re using the free version, you can only do a one-to-one video chat).
If you’re not already familiar with it, though, Slack takes some getting used to, so we’ve put together a step-by-step guide to help you get started. Be aware that Slack is rolling out a new version, and the instructions below may differ depending on whether you’re using a free or paid version.
Create a new account and workspace
When you’re creating an account, you can, if you wish, just join an existing workspace (if your organization, friend, or colleague has one they can add you to). But you can also make your own workspace. Here’s how.
- Go to slack.com
- Click “Get Started” and then “My team isn’t using Slack yet.”
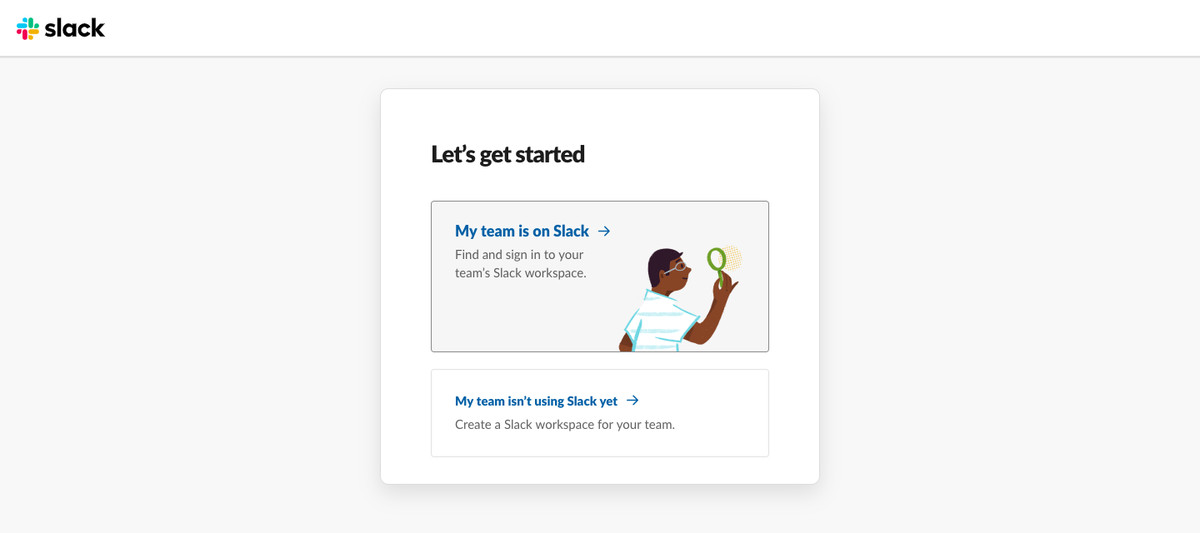
- Enter your email.
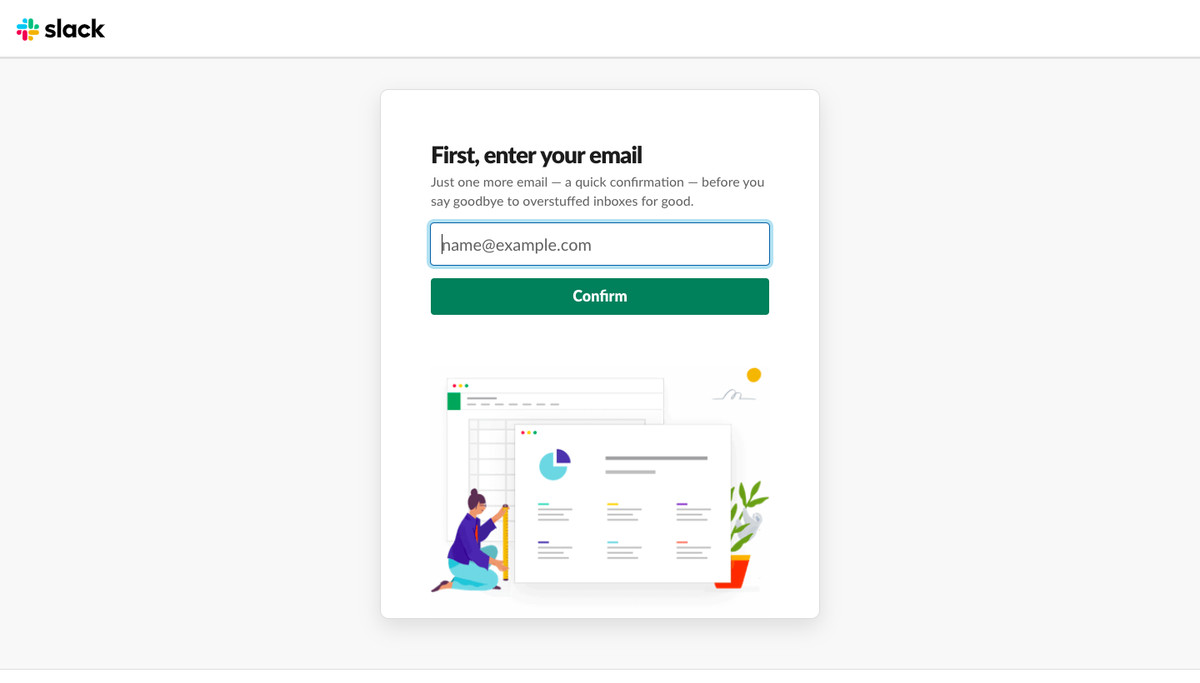
- Slack will ask you to verify your email with a code. Go to the email Slack just sent you to retrieve the code and enter it.
- Choose a name for your workspace. Click “Next.”
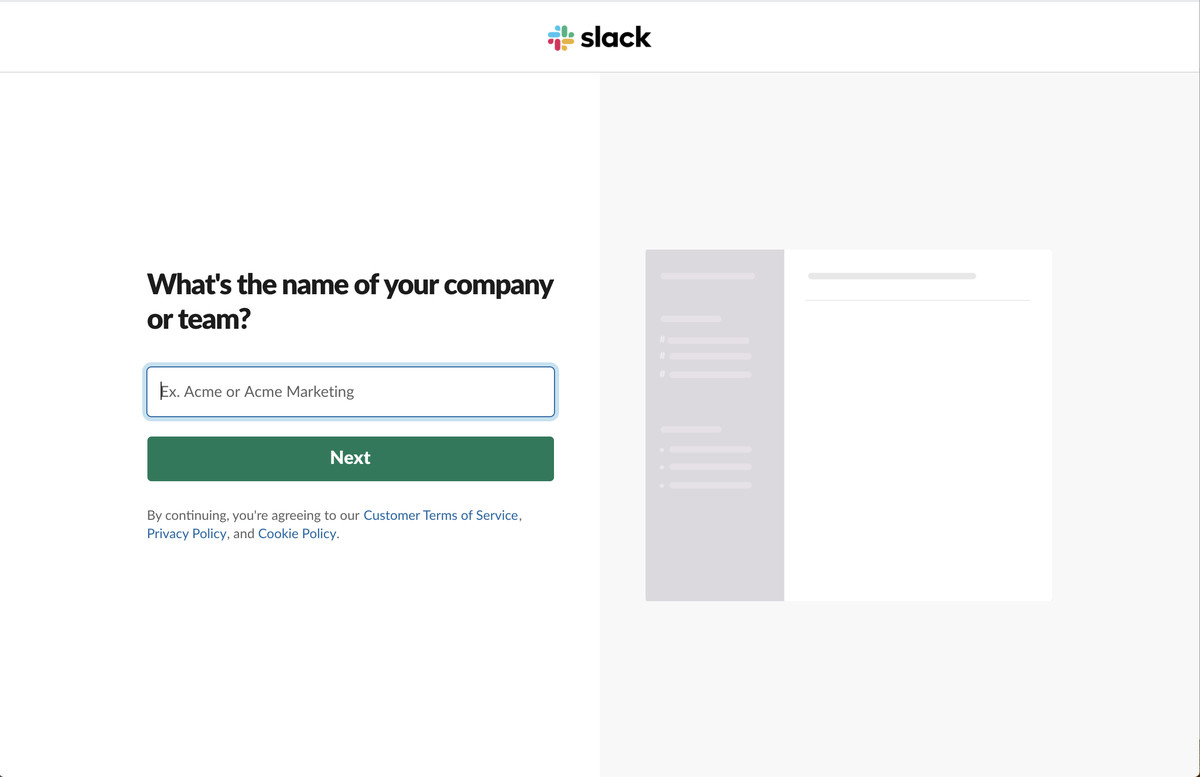
- Slack will ask you to type in a name for a project you’re working on. Enter it and click “Next.” This will create your first Slack channel.
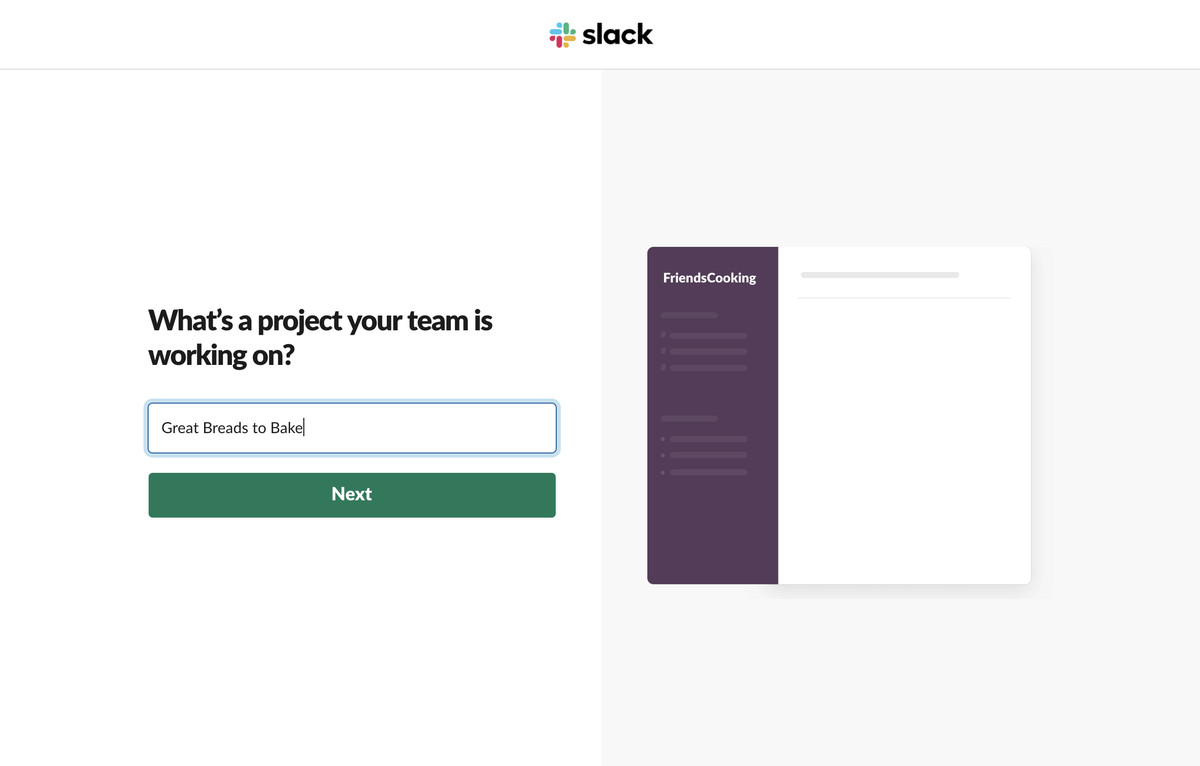
- On the next screen, you can enter the names and email addresses of people you’d like to add to your Slack workspace, and Slack will send them invitations. You can also use an invite link. But if you’re not ready to invite anyone yet, you can skip this page (you’ll get a chance to add people later).
- That’s it! Click on “See Your Channel in Slack.”

- You’re now on Slack — or, at least, on Slack’s welcome page. There are a number of things here you can do to set up your channel. For example, you get your second chance to add people by email or share an invite link.
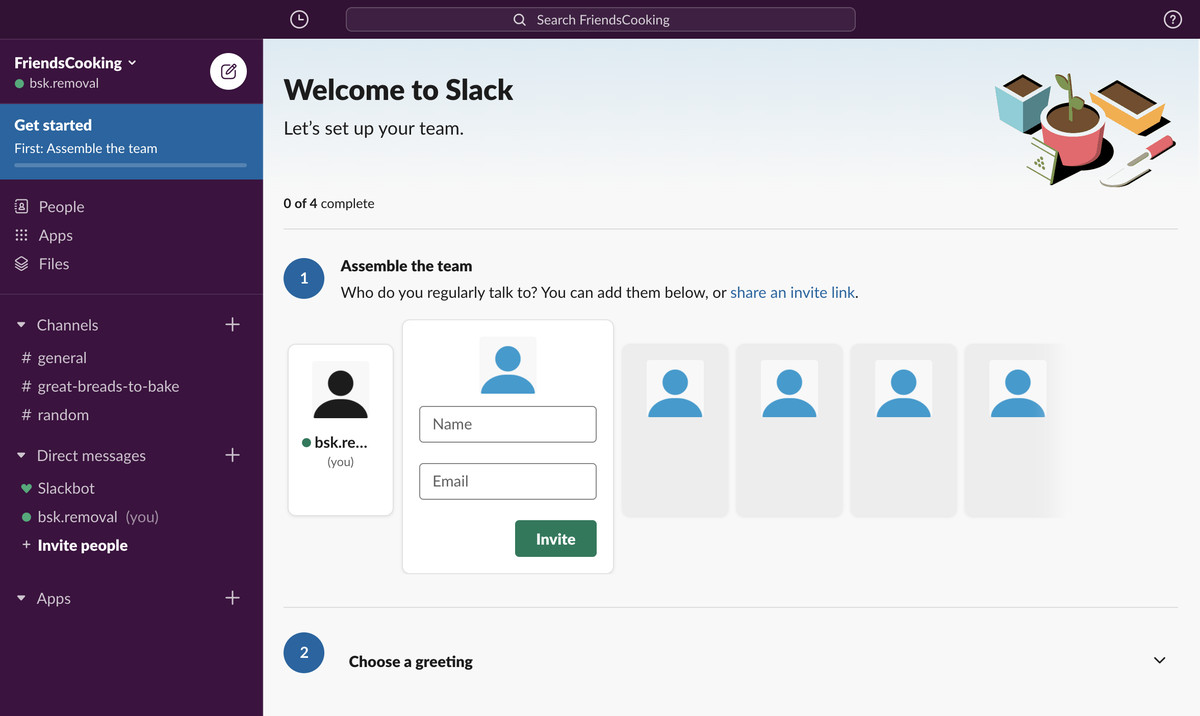
- On the same page, if you scroll down, you can choose a greeting, which is the message your teammates will see when they open up Slack. Click on “Choose a greeting” and you’ll get a couple of samples (which you can edit), or you can click “Custom…” to draft your own message. Click “Save” when you’re done.
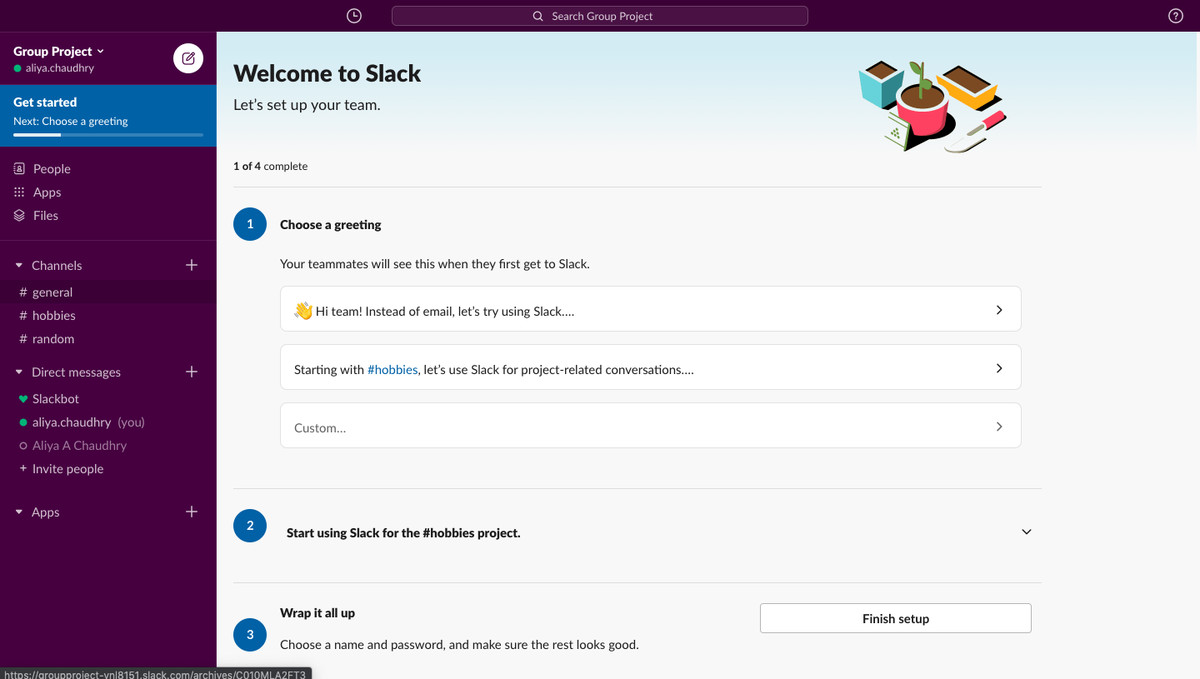
- Below that, you can enter the first message for your channel. Click “Send” when you’re done.
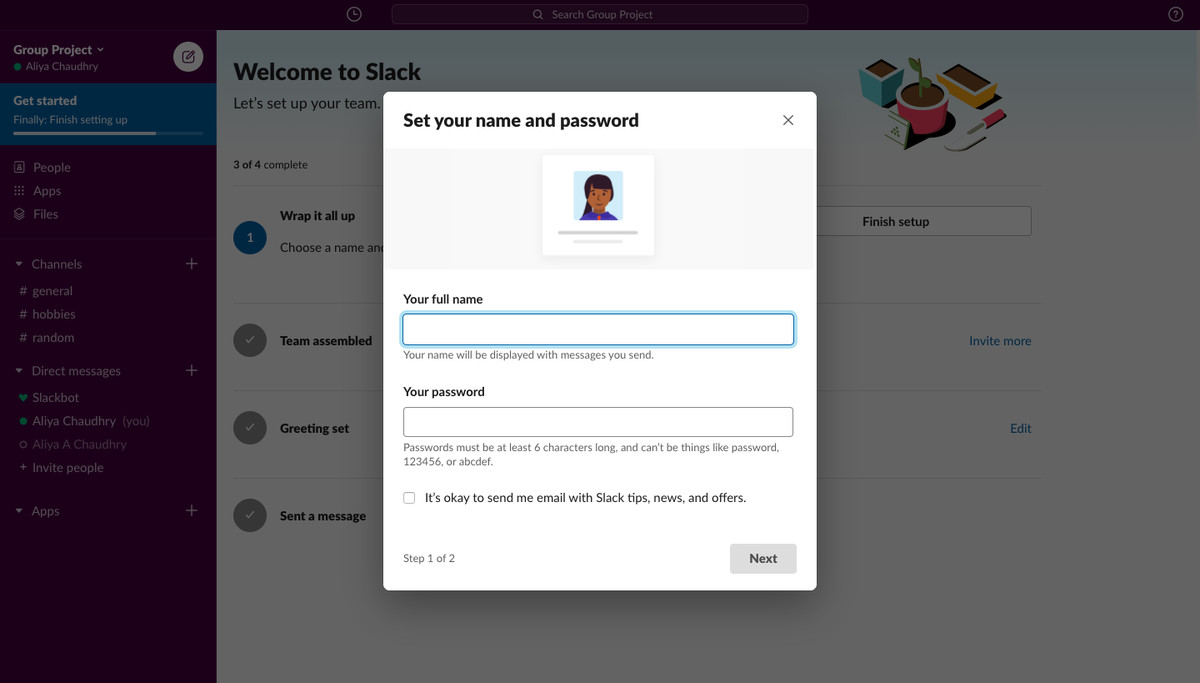
- Slack may automatically take you to the screen for setting up a username and password, or it may take you straight to your channel. If you don’t see the screen for setting up a name and password, you can access it by clicking the “Get started” button in the upper left corner below your username on the main page and then clicking “Finish setup.” Choose a name and a password, and click “Next.”
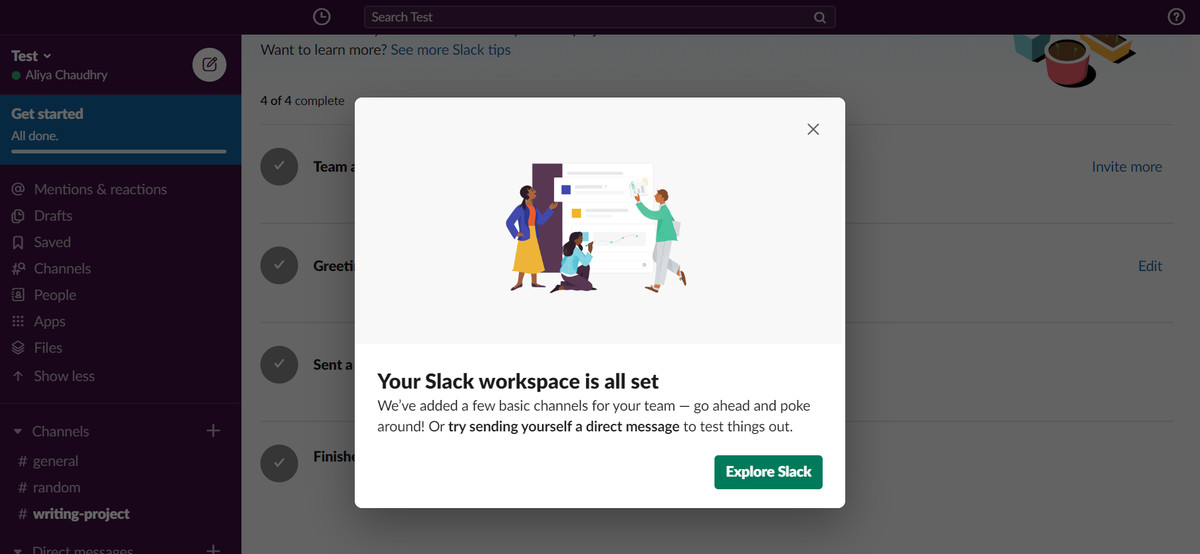
- Choose a name and a unique URL for your workspace that others can use to join. Click “Finish” to complete your setup and click “Explore Slack” to start using Slack.
Join an existing workspace
To join an existing Slack workspace, you’ll need to get permission from whoever owns that workspace. Usually they will send you an email invitation which you can use to join, but sometimes you have other options. Some workplaces allow anyone with an email address from a specific domain to join, and in some cases, you can authenticate your account using your organization’s single sign-on program (like G Suite or Okta).
If you’ve received an email invitation:
- Click “Join Now” in the email.
- Type in a new username and password. You’ll need to do this for each workspace you join, since you actually have a different account for each workspace, even if they all use the same email address.
- Click “Create Account.”
Otherwise, to join an existing workspace:
- Go to slack.com/get-started
- Click “My team is on Slack.”
- Type in your email address and click “Confirm.”
- Go to the email Slack just sent you and click “Confirm Email Address.”
- Slack will open up a window showing you which workspaces you’re a part of (if any) and, below that, any additional ones you can join. Under “Join another workspace,” find the workspace you’re looking for and click “Join” next to it.
- Type in a username and password and then click “Create Account.”
- After joining, you’ll be taken to a welcome page, which gives you the option to send a message. Type in a message and click “Send” to move on to the main page. The welcome page also allows you to add a profile photo, set up notifications, download the desktop app, and connect Slack to Google Drive. You don’t need to complete all of the steps to move forward, and you can access the welcome screen anytime by clicking “Get started” under your username in the upper left-hand corner.
Now you’re in Slack! Any current conversation, whether it’s a channel or direct-message thread, will show up on your screen. On the left-hand side, a bar will show you all of the channels you’re in, and beneath that, all of your direct messaging (in other words, private) conversations.
If you use Slack regularly, it might be a good idea to download the desktop app for Mac or Windows, so that you can use the app separately from any online work you’re doing. There are also apps available for iOS and Android, so you can use Slack from your smartphone.
Vox Media has affiliate partnerships. These do not influence editorial content, though Vox Media may earn commissions for products purchased via affiliate links. For more information, see our ethics policy.
https://www.theverge.com/2020/3/30/21194567/slack-account-set-up-instant-direct-messaging-channels-work-from-home-remote-office

