

We got to create with the beta of Procreate 5, out today in what’s the biggest version yet of the iPad’s best drawing and painting app.
Ever wanted to breezily animate your drawings on the iPad? Or wanted to import your favourite Photoshop brushes into Procreate? Today’s the day for both as the latest update of Savage’s seminal iPad art app arrives for download.
Procreate’s fifth major revision has long been talked about in digital art circles as the one with Animation Assist, a brand new feature that lets you create animatics, storyboards and loops like the one below. We’ve mentioned this before in an earlier news story and our hands-on review of Procreate 5’s beta release (as featured below), so let’s talk a little about something else, mainly in the form of mythical Norse figures.

Valkyrie is the name for Procreate’s new graphics engine, a powerful one running at 120fps on supported devices, meaning you can draw at the speed of thought. Definitely worthy of being named after a mythical creature slash Marvel heroine.
You can use your favourite Kyle T Webster brushes in the app now, as Procreate can import .ABR brushes. Not only that, but thanks to Valkyrie they’ll paint faster in Procreate than Adobe Photoshop; of course we mean the classic desktop version as PS for iPad is yet to have this capability.
On the subject of iPad painting apps, it’s good to remember Photoshop brushes can be used in Adobe Fresco, Adobe’s Procreate rival from this summer which we reviewed here. We’re going to assume imported brushes work as fast in Fresco or faster, but we’ll save that for a comparison review.
For those who like making their own digital brushes, know that the new Brush Studio in Procreate is effectively a brush-making app within an app, where creators can fine tune existing and custom brushes to an obsessive detail. At the end of the process they can even bake their signature, profile and even avatar into every brush.
Find Procreate here for the usual one-off price of £9.99/$9.99. The update is compatible only with iOS 13.2 and above.
Good to know
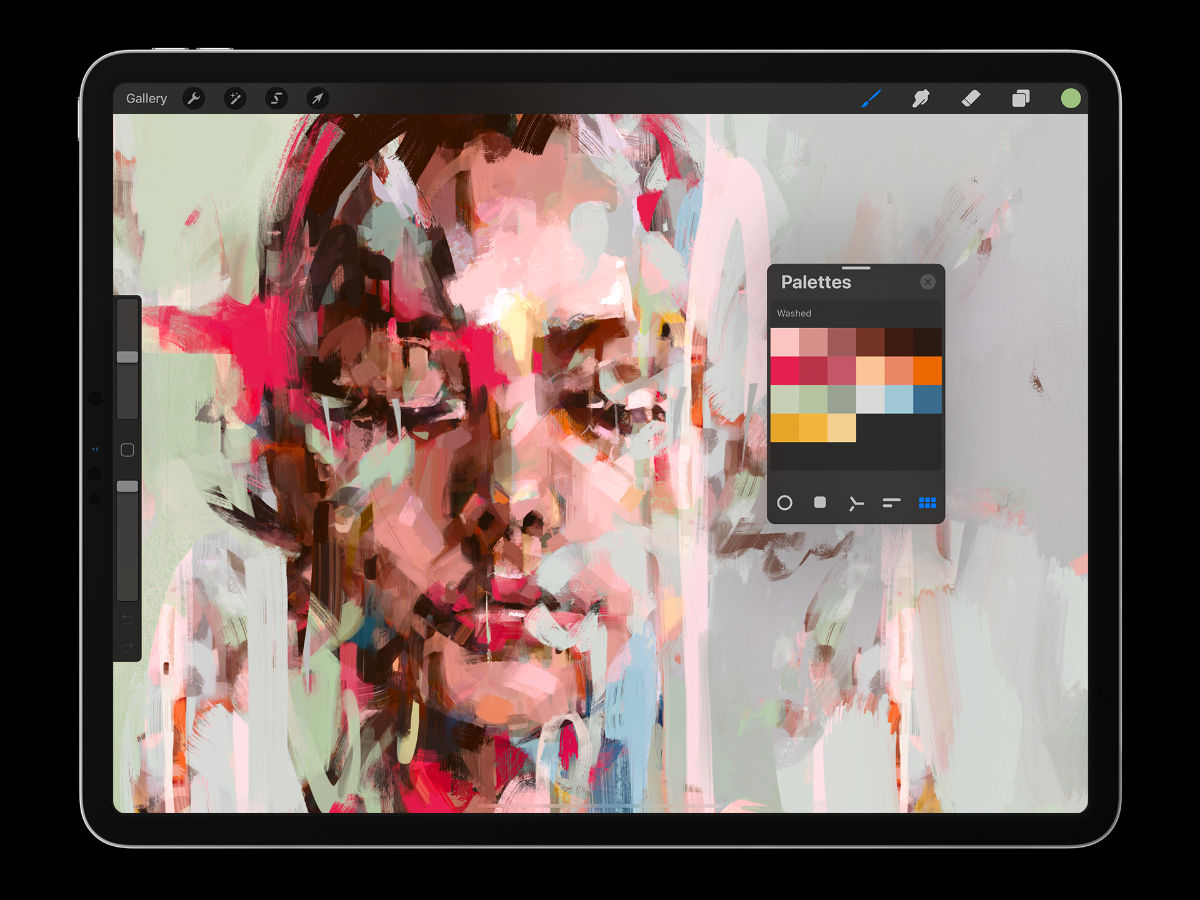
Colours
- Artists can now drag the Colour Panel to detach and minimise into the new Mini Color Panel,which you can drag anywhere on and off the screen.
- With Color Dynamics digital painters get tactile control of hue, saturation, brightness and more to a brush through the tilt or pressure of the Apple Pencil, thanks to almost 20 individual sliders in the tool.
- Digital isn’t everything, and comic book creators will happy to find new importable CMYK and RGB ICC profiles in Procreate.
- Color Harmony has been added to the Color Panel with Complimentary, Split Complimentary, Analogous, Triadic and Tetradic profiles. With a more intuitive UI, picking complimentary colours should take less trial and error.
- The new 10-step Color History keeps the most recently used colours always within easy reach and ready to use.
New brushes
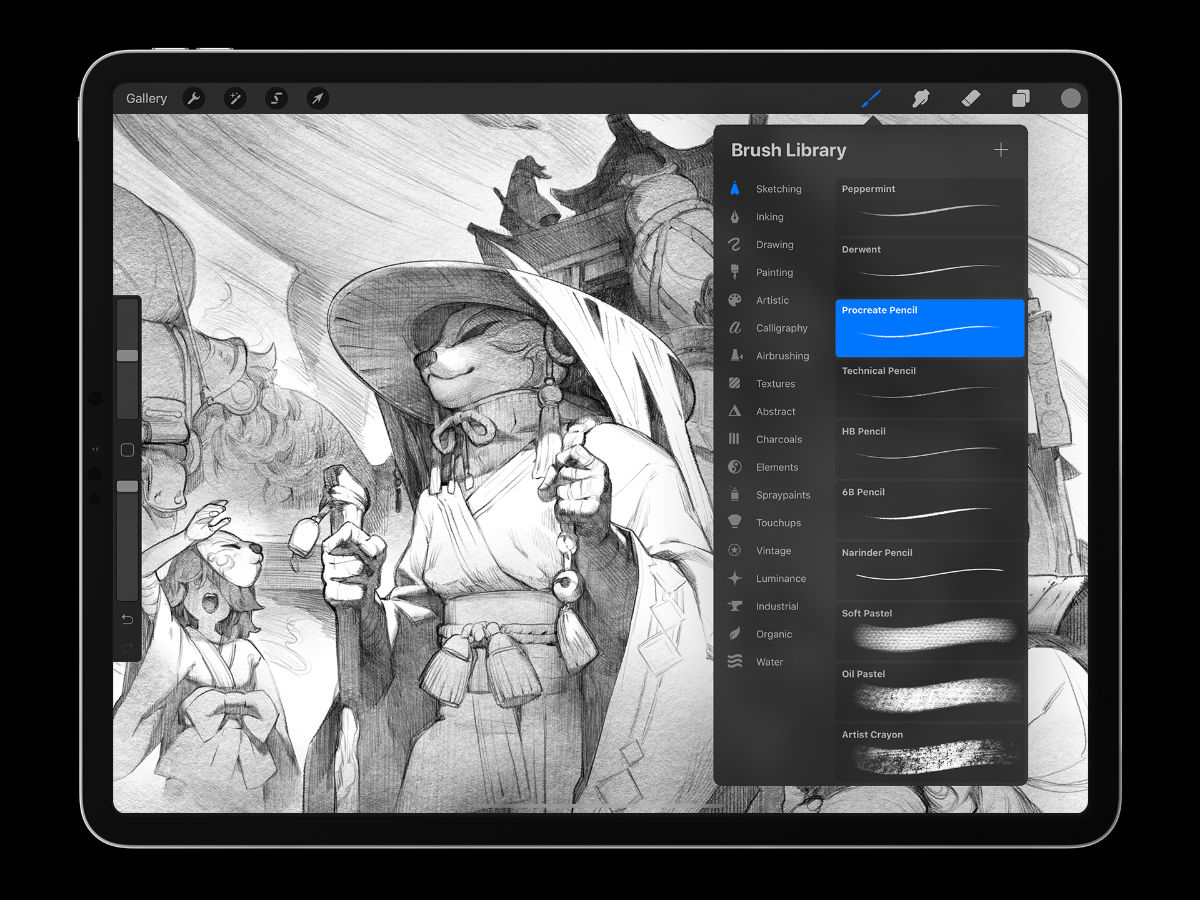
This new Procreate comes with 190 default brushes across 18 different styles, as created to make the most of Valkyrie. With the option of as importing as many PS brushes as you want, that essentially gives you the world’s biggest brush library at your fingertips.
Check out our impressions below of Procreate 5 in beta form in our review from October 2019.
Beta hands-on
Concept art and design conference Playgrounds recently finished its first instalment of 2019 in Eindhoven, Netherlands, and Digital Arts was on the ground checking out stalls from the likes of Wacom and Procreate (alongside interviewing many of the talented names presenting at the event.)
There we got the chance to check out a beta version of Procreate 5 with Procreate showcase artist Will Robinson, who was on hand to guide us through the new update.
Find below our first impressions of Procreate 5 with artwork from Will and some thoughts from artists in attendance at Playgrounds who also got to test out the beta.
How to make animation with Procreate 5
Procreate makers Savage seem to be most proud of the app’s latest animation features, and seeing them in action did not disappoint. The above video will show you what we mean (but do turn off ad blocking.)
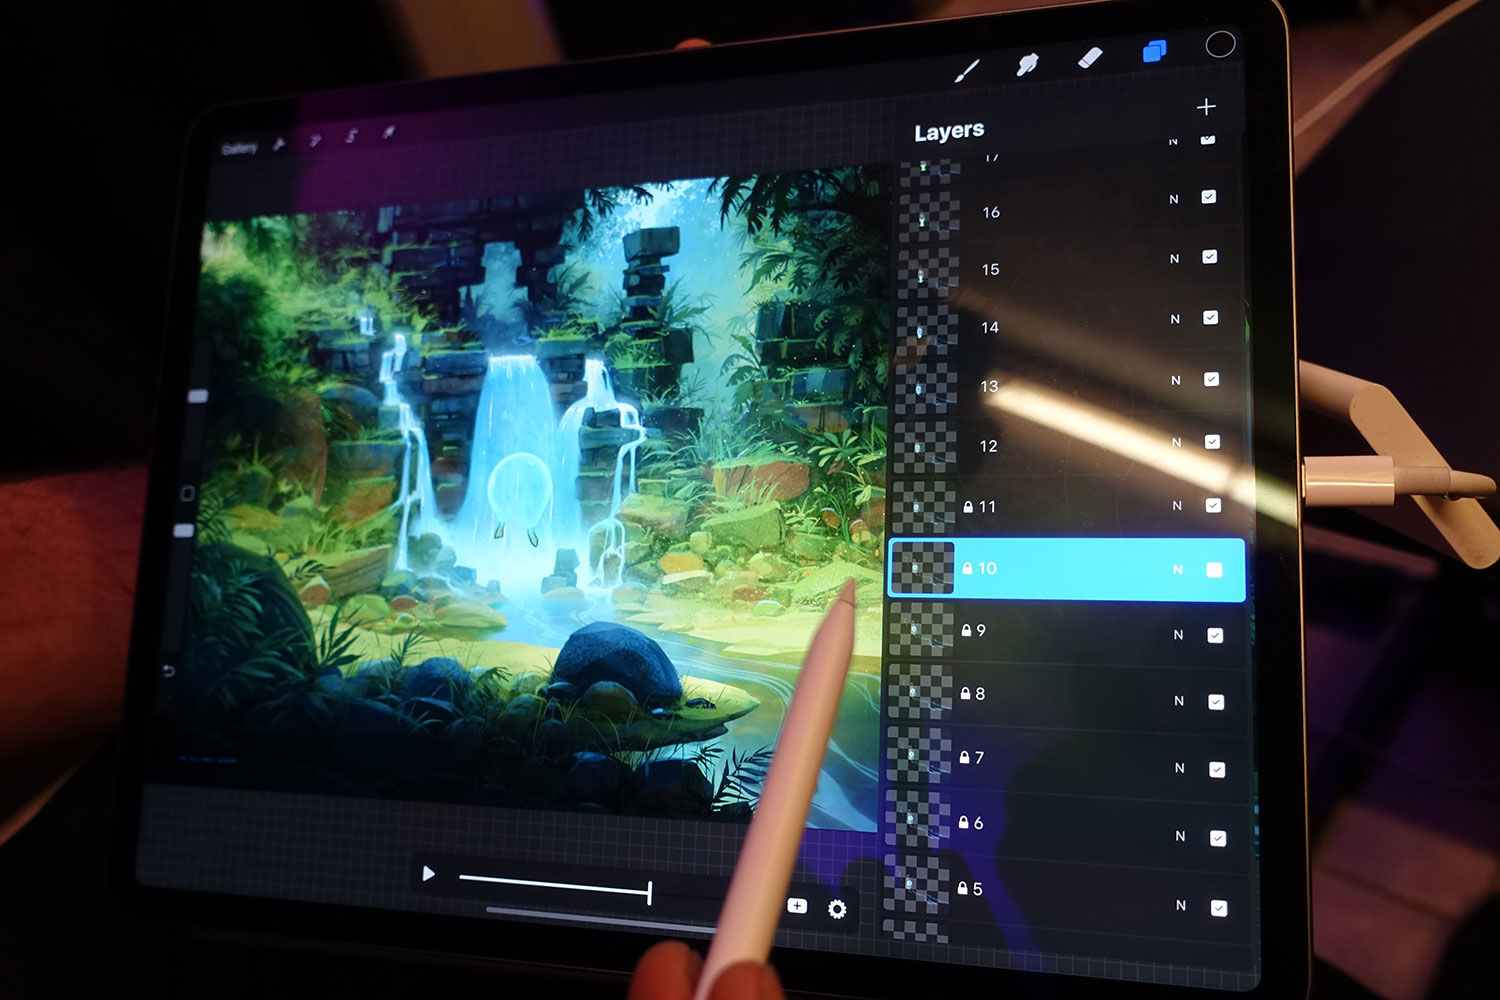
Procreate 5’s animation magic lies in onion skins, where the previous frame of your sequence becomes a faint layer to draw the next one over.
If you’re new to this form of animation process then think of the skins as layers because that’s exactly what they are. If a frame looks dodgy, tick it off; if you want to group a set of layers as one individual frame, then that’s also possible, all within the editing panel shown below.
A multitude of capabilities available in one panel, then; you can even recolour an object by picking a hue from the ring and ‘dropping’ it in.
Controlling playback though is done through the scrollbar at the bottom of your canvas; toggling through the scroller shows you how the animation plays without need for export, and the embedded settings give you the chance to control how many frames per second you’d prefer.
We also liked how you can set the resulting animation as a Loop, One-Shot or Ping Pong (forward then reverse.) You can also play about with the number of frames and change the opacity of the onion skins.
It all feels very intuitive, making animation seem less of a daunting task to illustrators. The interface itself is your standard Procreate canvas, meaning you can zoom in and out of your work like any standard graphic. You can also preview each ‘toon in motion you make from the Procreate open page.
Celeste Janssens, a visiting animation student and Procreate user, liked being able to control in the beta about how many layers she wants shown as part of a sequence.
“It also has the great option to set layers as foreground and background animation layers, so you don’t have to copy them,” she tells me.
Rather neatly, you can preview the amount of onion skins within a piece; turn off the Animation Assist option to see their imprints as below (compare and contrast with the same image as in the above photo.)

Need to Know
Animations can have a maximum of 72 layers at 4k resolution; 250 at 1080p.
Playback is capped at 120 Hz.
Colour Dynamics in Procreate 5
Customising brushes in Procreate is now easier with the new Colour Dynamics panel, as Celeste enjoyed when visiting the Procreate stall.
“I like to blend multiple colours within a value in my work to give it more life, and this was quite tiresome in Procreate. But Color Dynamics offers a lot of possibilities, like changing stroke properties and hues, plus adding colour jitter for brush strokes imbued with multiple hues.
Brush Magic
Procreate 5 comes with 150 brush settings, all powered by the hefty graphics engine of Valkyrie.
The new Dual Brush feature is a standout; swipe your choice of two brushes from the menu and the two combine instinctively. Applying pressure lets the second brush subtract from the first with a natural-looking ease.
Like the look of a certain texture? With Grain Editor you can import a photo of a real-life element and add its texture (grain) to an existing brush.
The very clever editor lets you remove the natural seams of a surface that might ruin the pattern in your stroke, giving you control over scale and overlap.
Import your photo to see it tessellated, each tile sitting on its own square as it were should there be pesky seams. By blending with the mentioned controls, you should be left with a perfect ‘wash’ of grain that will make up the stroke of your customised brush.
The new cloning capabilities will also intrigue, with Will copying over his steampunk Wind in the Willows figure below with ease elsewhere in the canvas via a few strokes.

Import your favourite brushes
Celeste also agrees that the ability to import ABR format is a game changer.
“Normally I tinker with the brush options to make ones that come close to some of the Photoshop brushes I like, but it’s not quite the same. But at the Playgrounds booth they imported Kyle T Webster brushes and I was so impressed. Finally I can use my faves on Procreate.”
Digital artists will also like a now floating Colour Picker you can move anywhere on the screen, and which will allow you to select two colours. iPad Pro users should also look out for the Colour History panel exclusive to them, keeping tabs of all tones used (update: Digital Arts is checking if this is still the case with today’s release.)
The Tilt editor is also coming in graphic form, giving a graph-like representation to your customised stylus angle and tilt settings. Also, the CMYK colour profile is finally coming to Procreate in what should be good news for digital artists who dabble in print.
We also learnt about the new Harmony widget, which will suggest complimentary colours to the ones you’re using. This wasn’t in the beta version at Playgrounds, so we’ve yet to see how effective it is.

https://www.digitalartsonline.co.uk/features/creative-software/procreate-5-hands-on-specs-release-date-details/